By Design Bundles
Photoshop Tutorials6 min
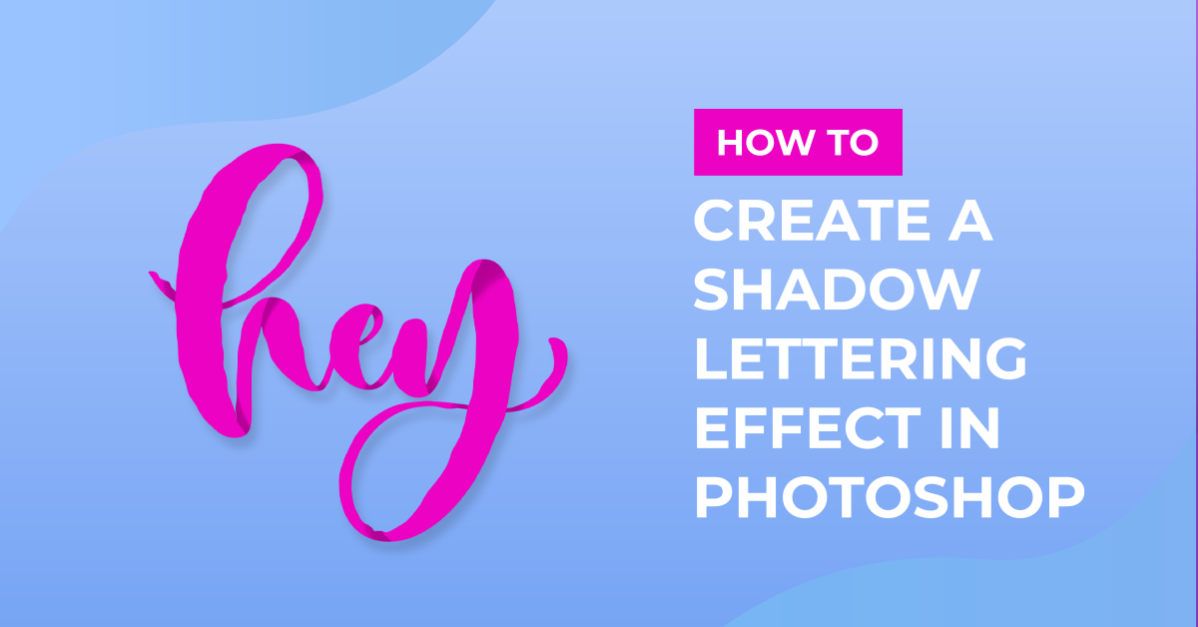
Shadow lettering effect in Photoshop
1 - Open Photoshop.
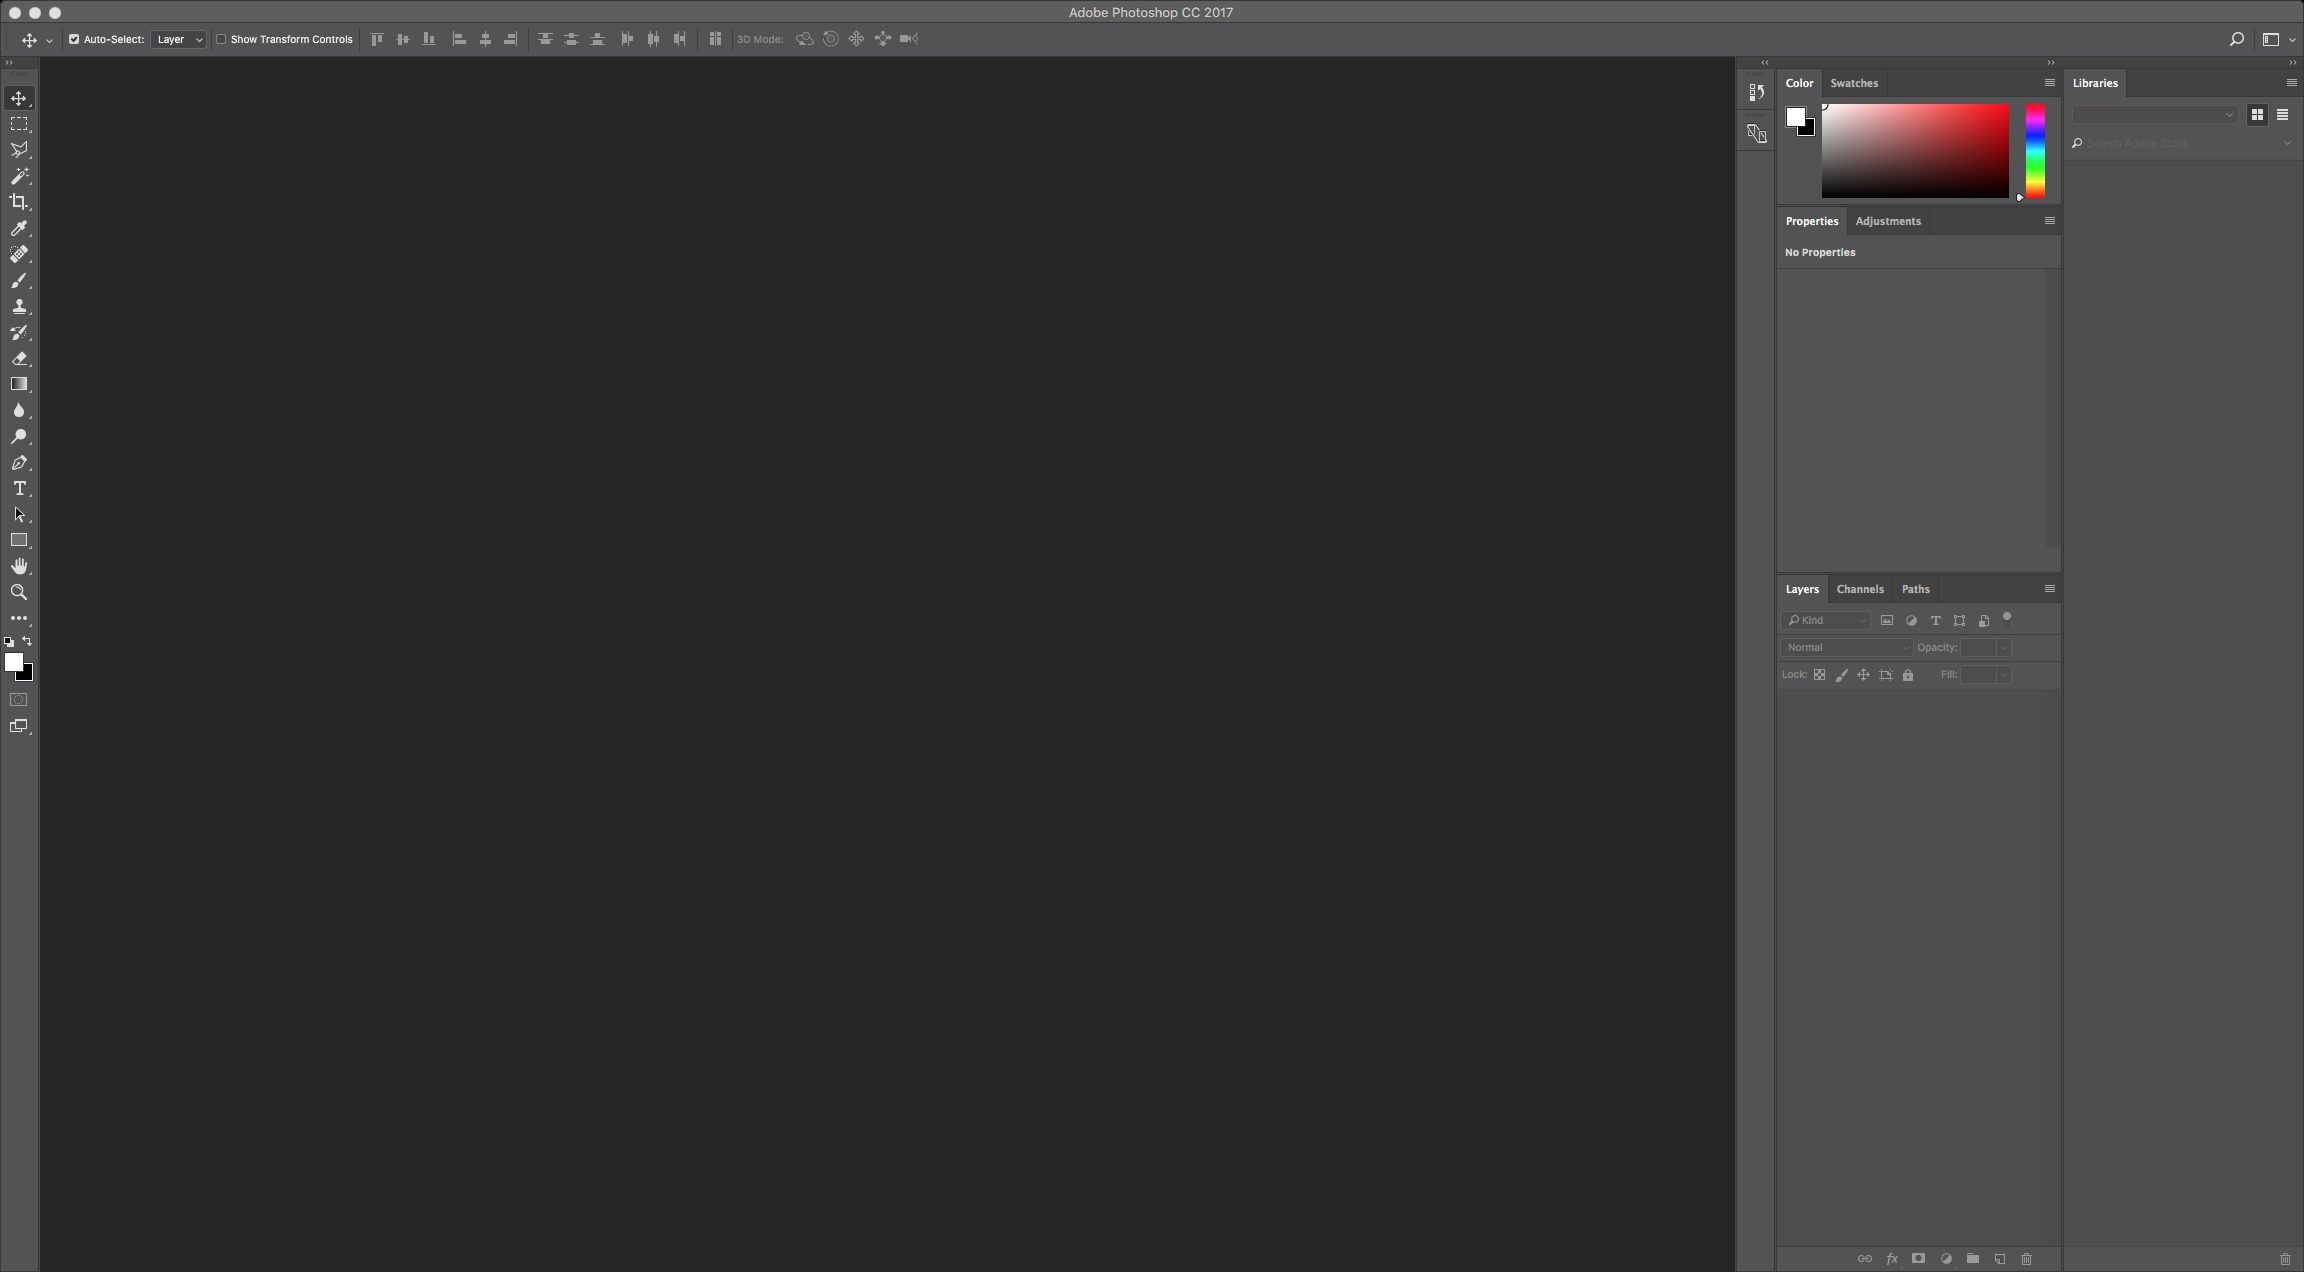
2 - Create a new document.
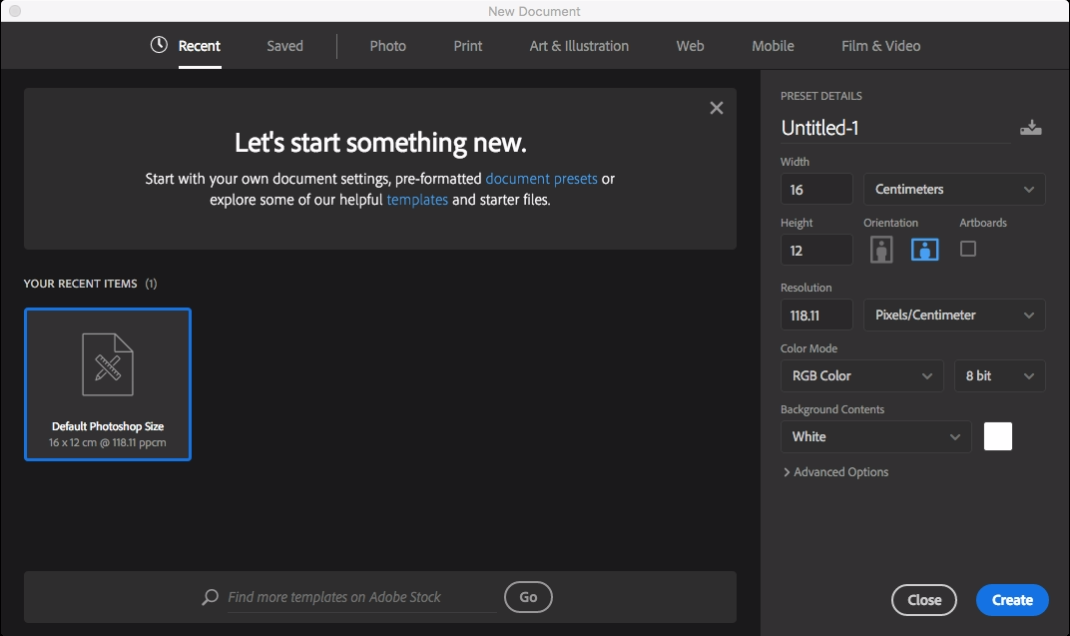
3 - Select the Type Tool, select your desired font and add some text. The font used is Alterlight from Font Bundles.
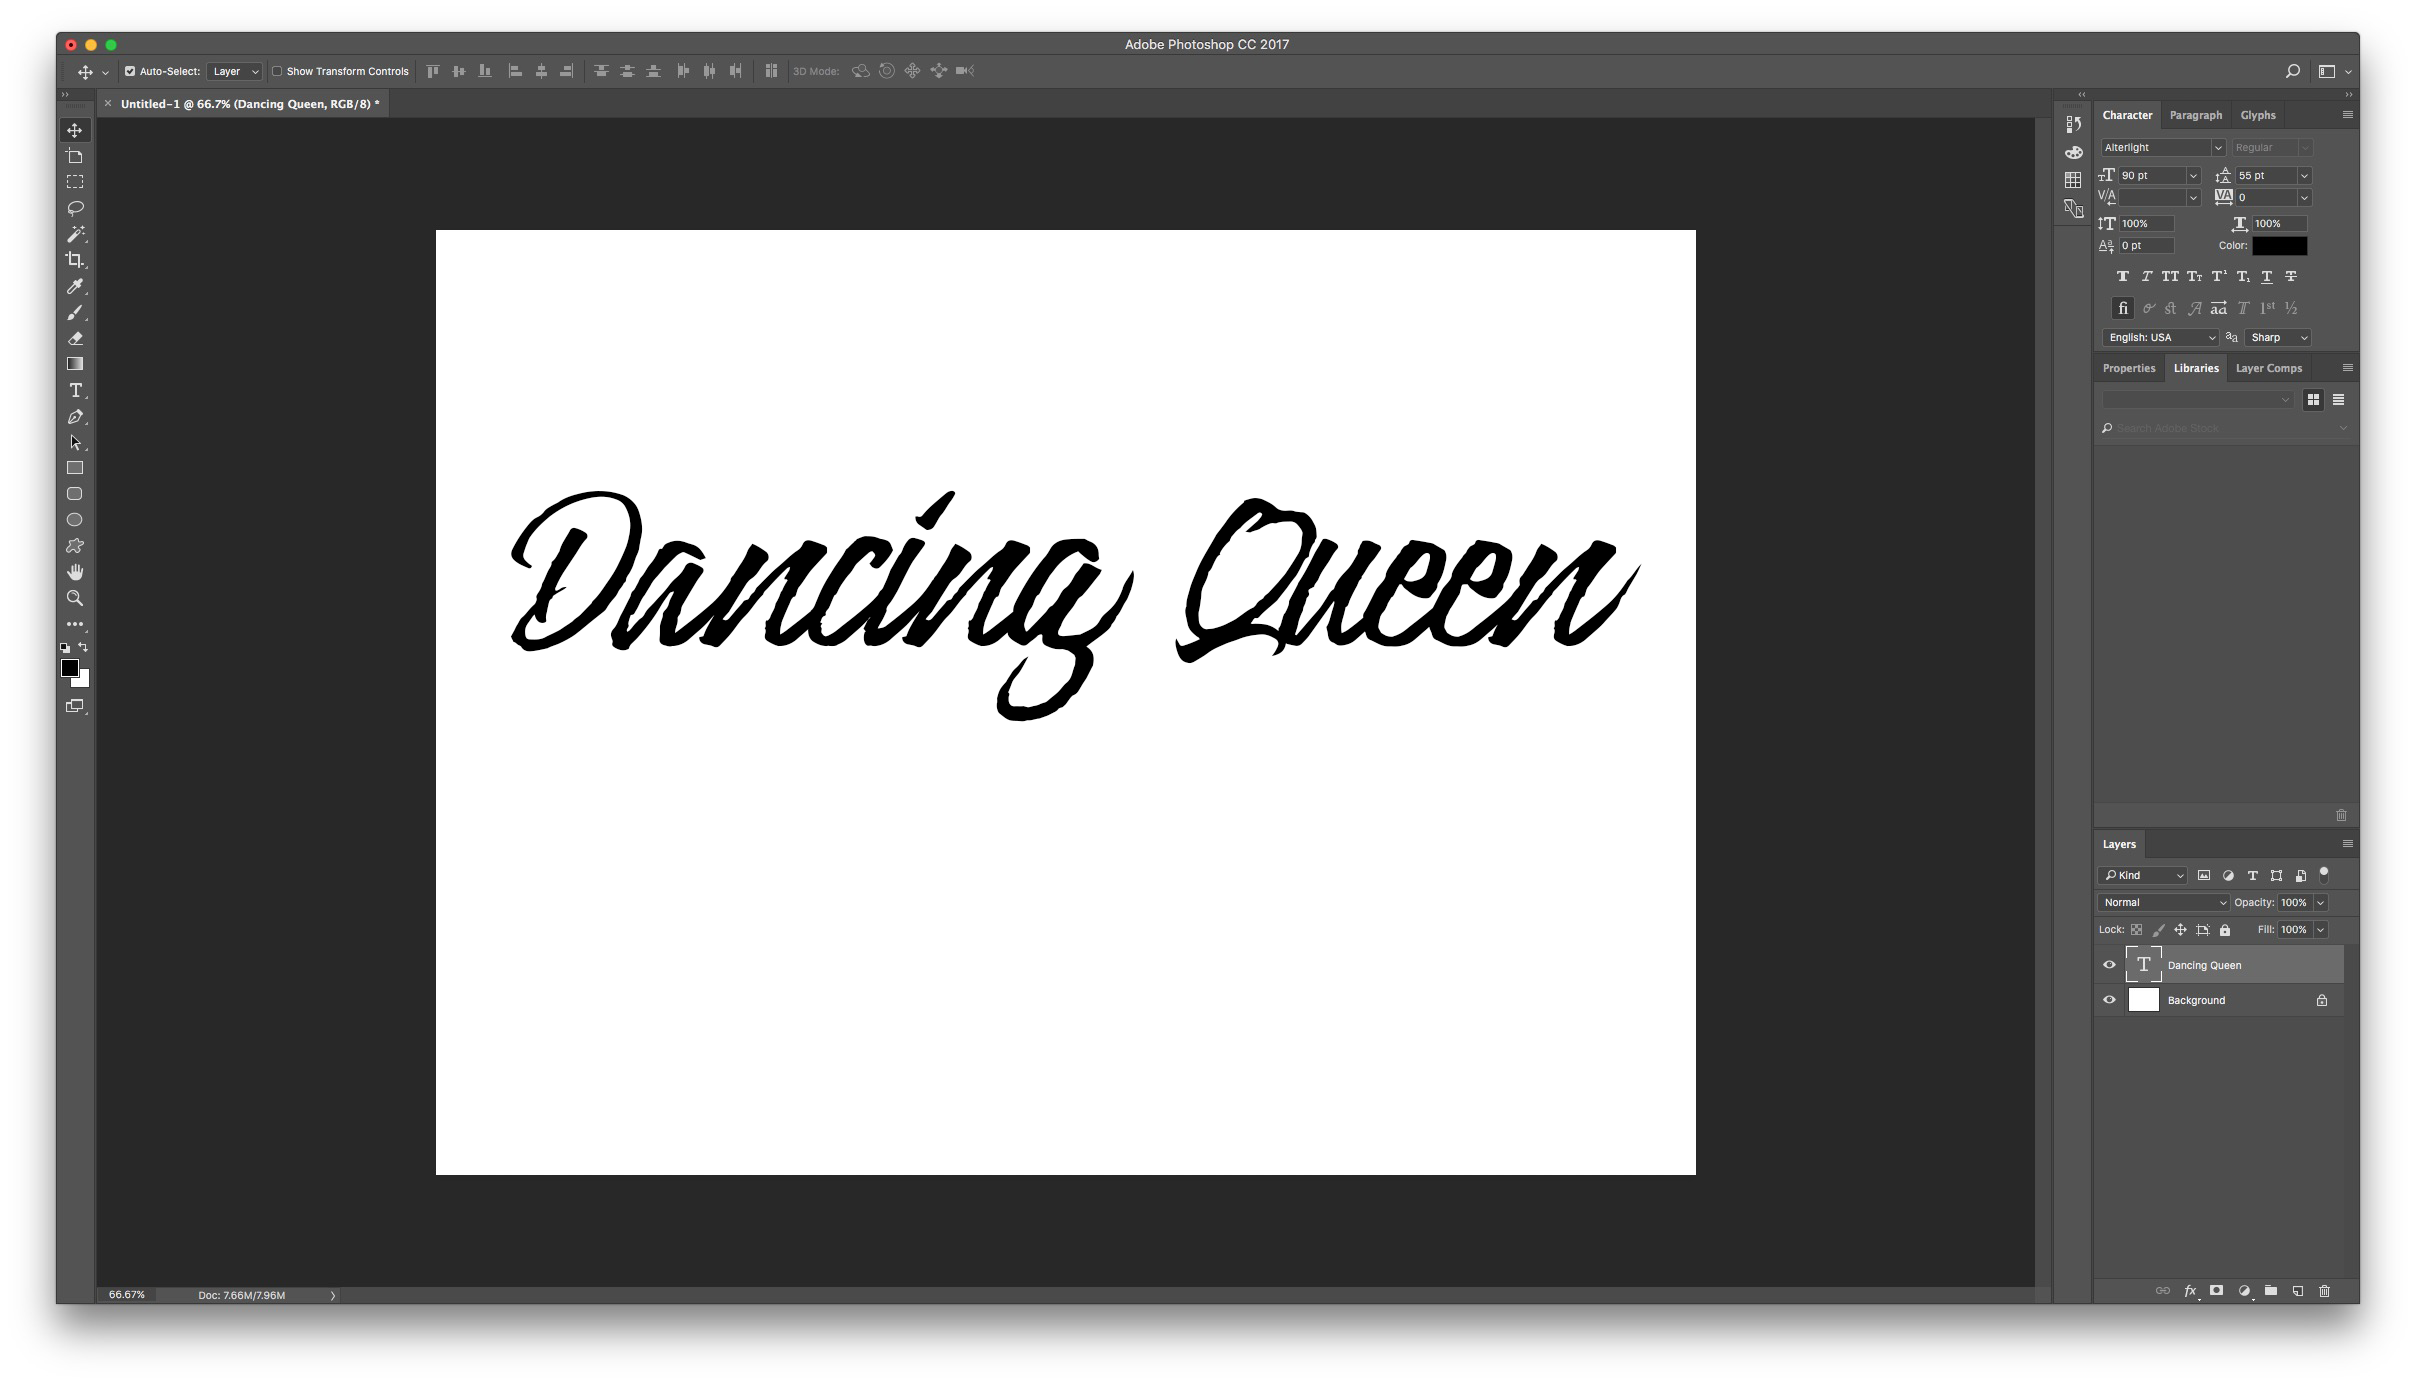
4 - Align left and adjust spacing so the two lines of text overlap a little. (In this case it was 55 pt).
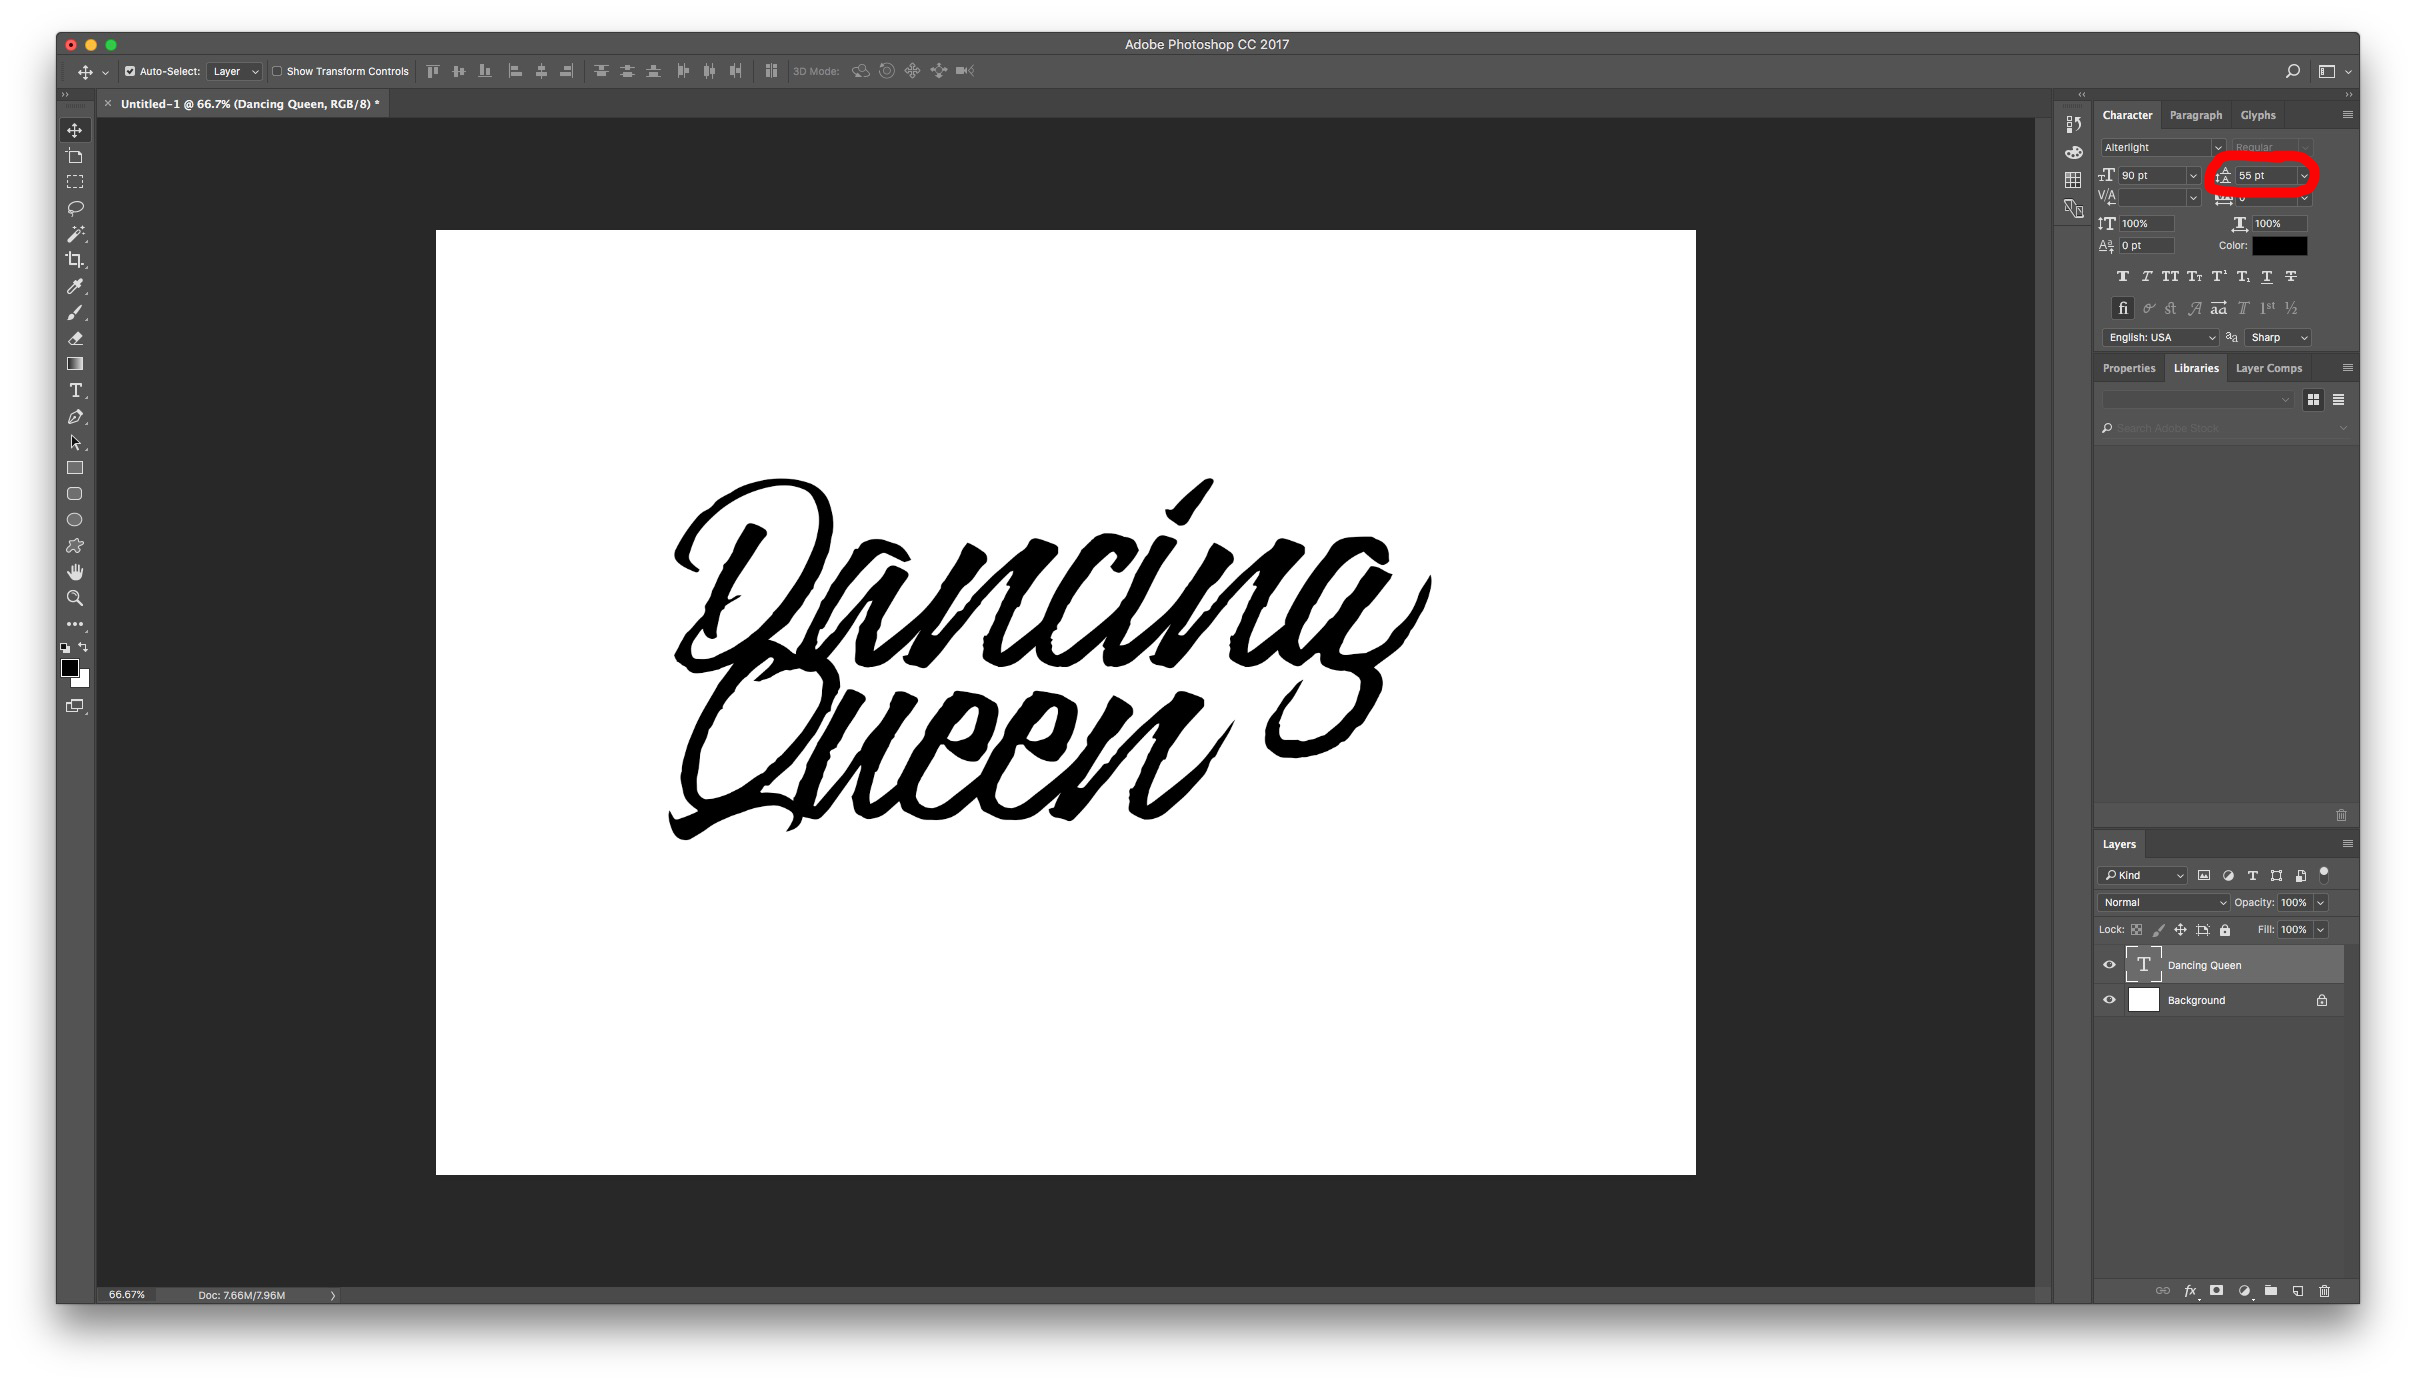
5 - Select your text and change the color to the one you want.
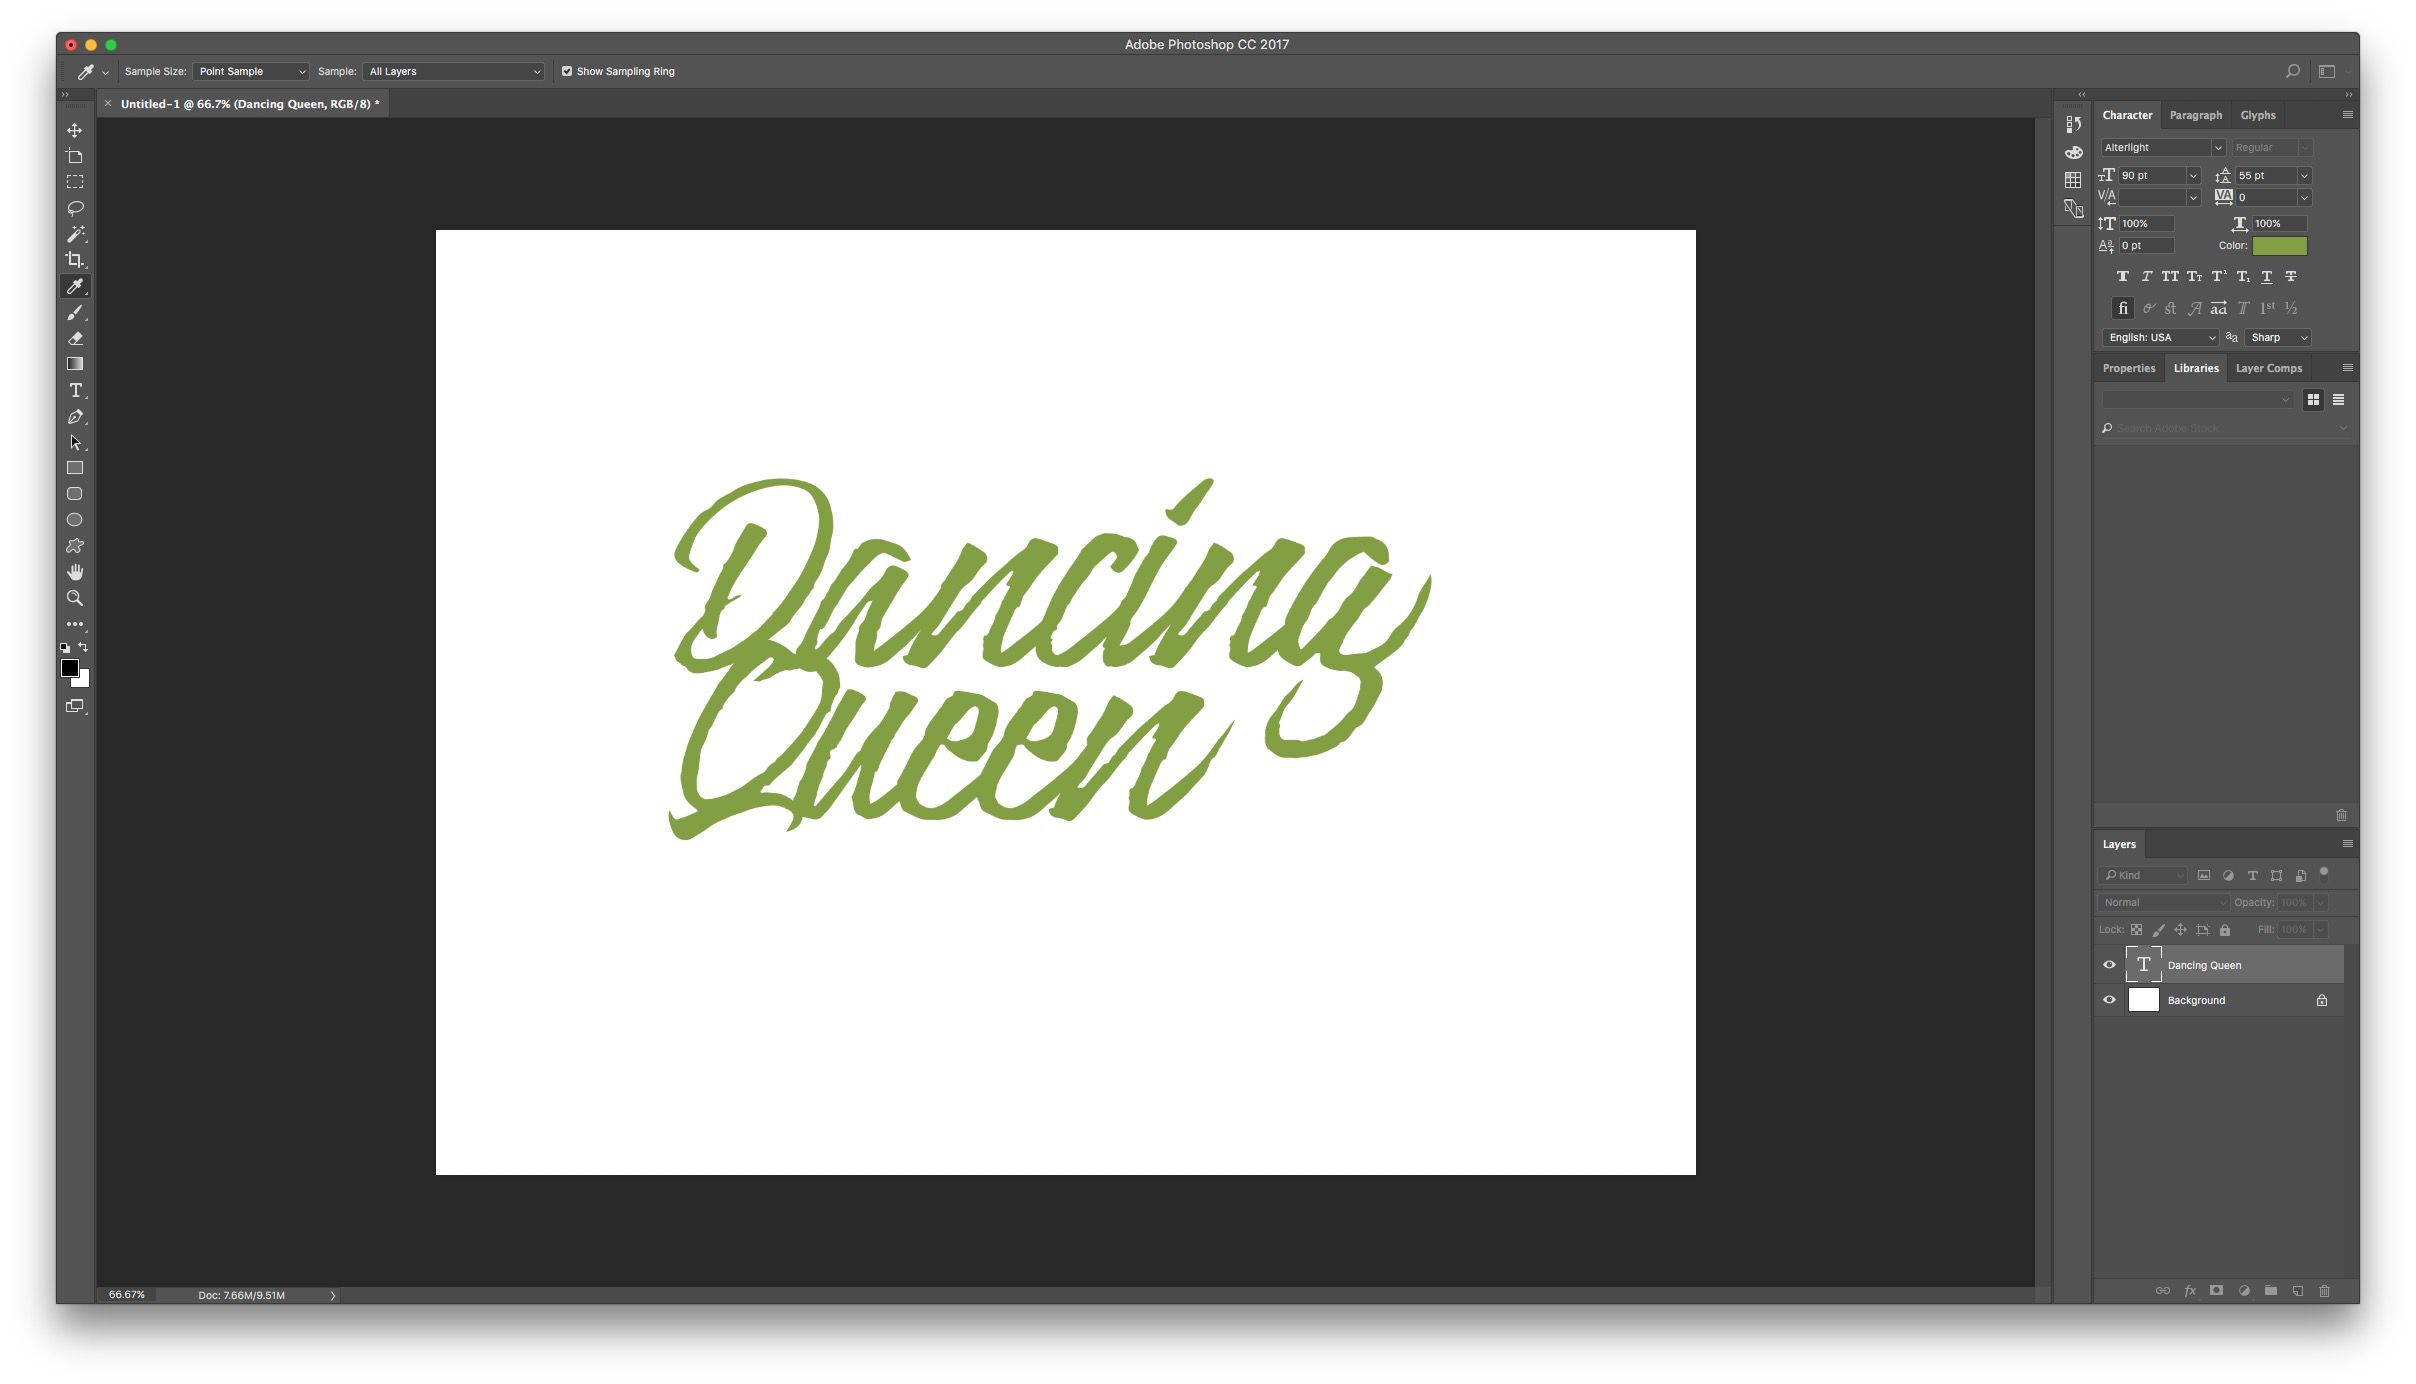
6 - Create a new layer by clicking the small icon at the bottom of the Layers Panel and name it “Shadows”.
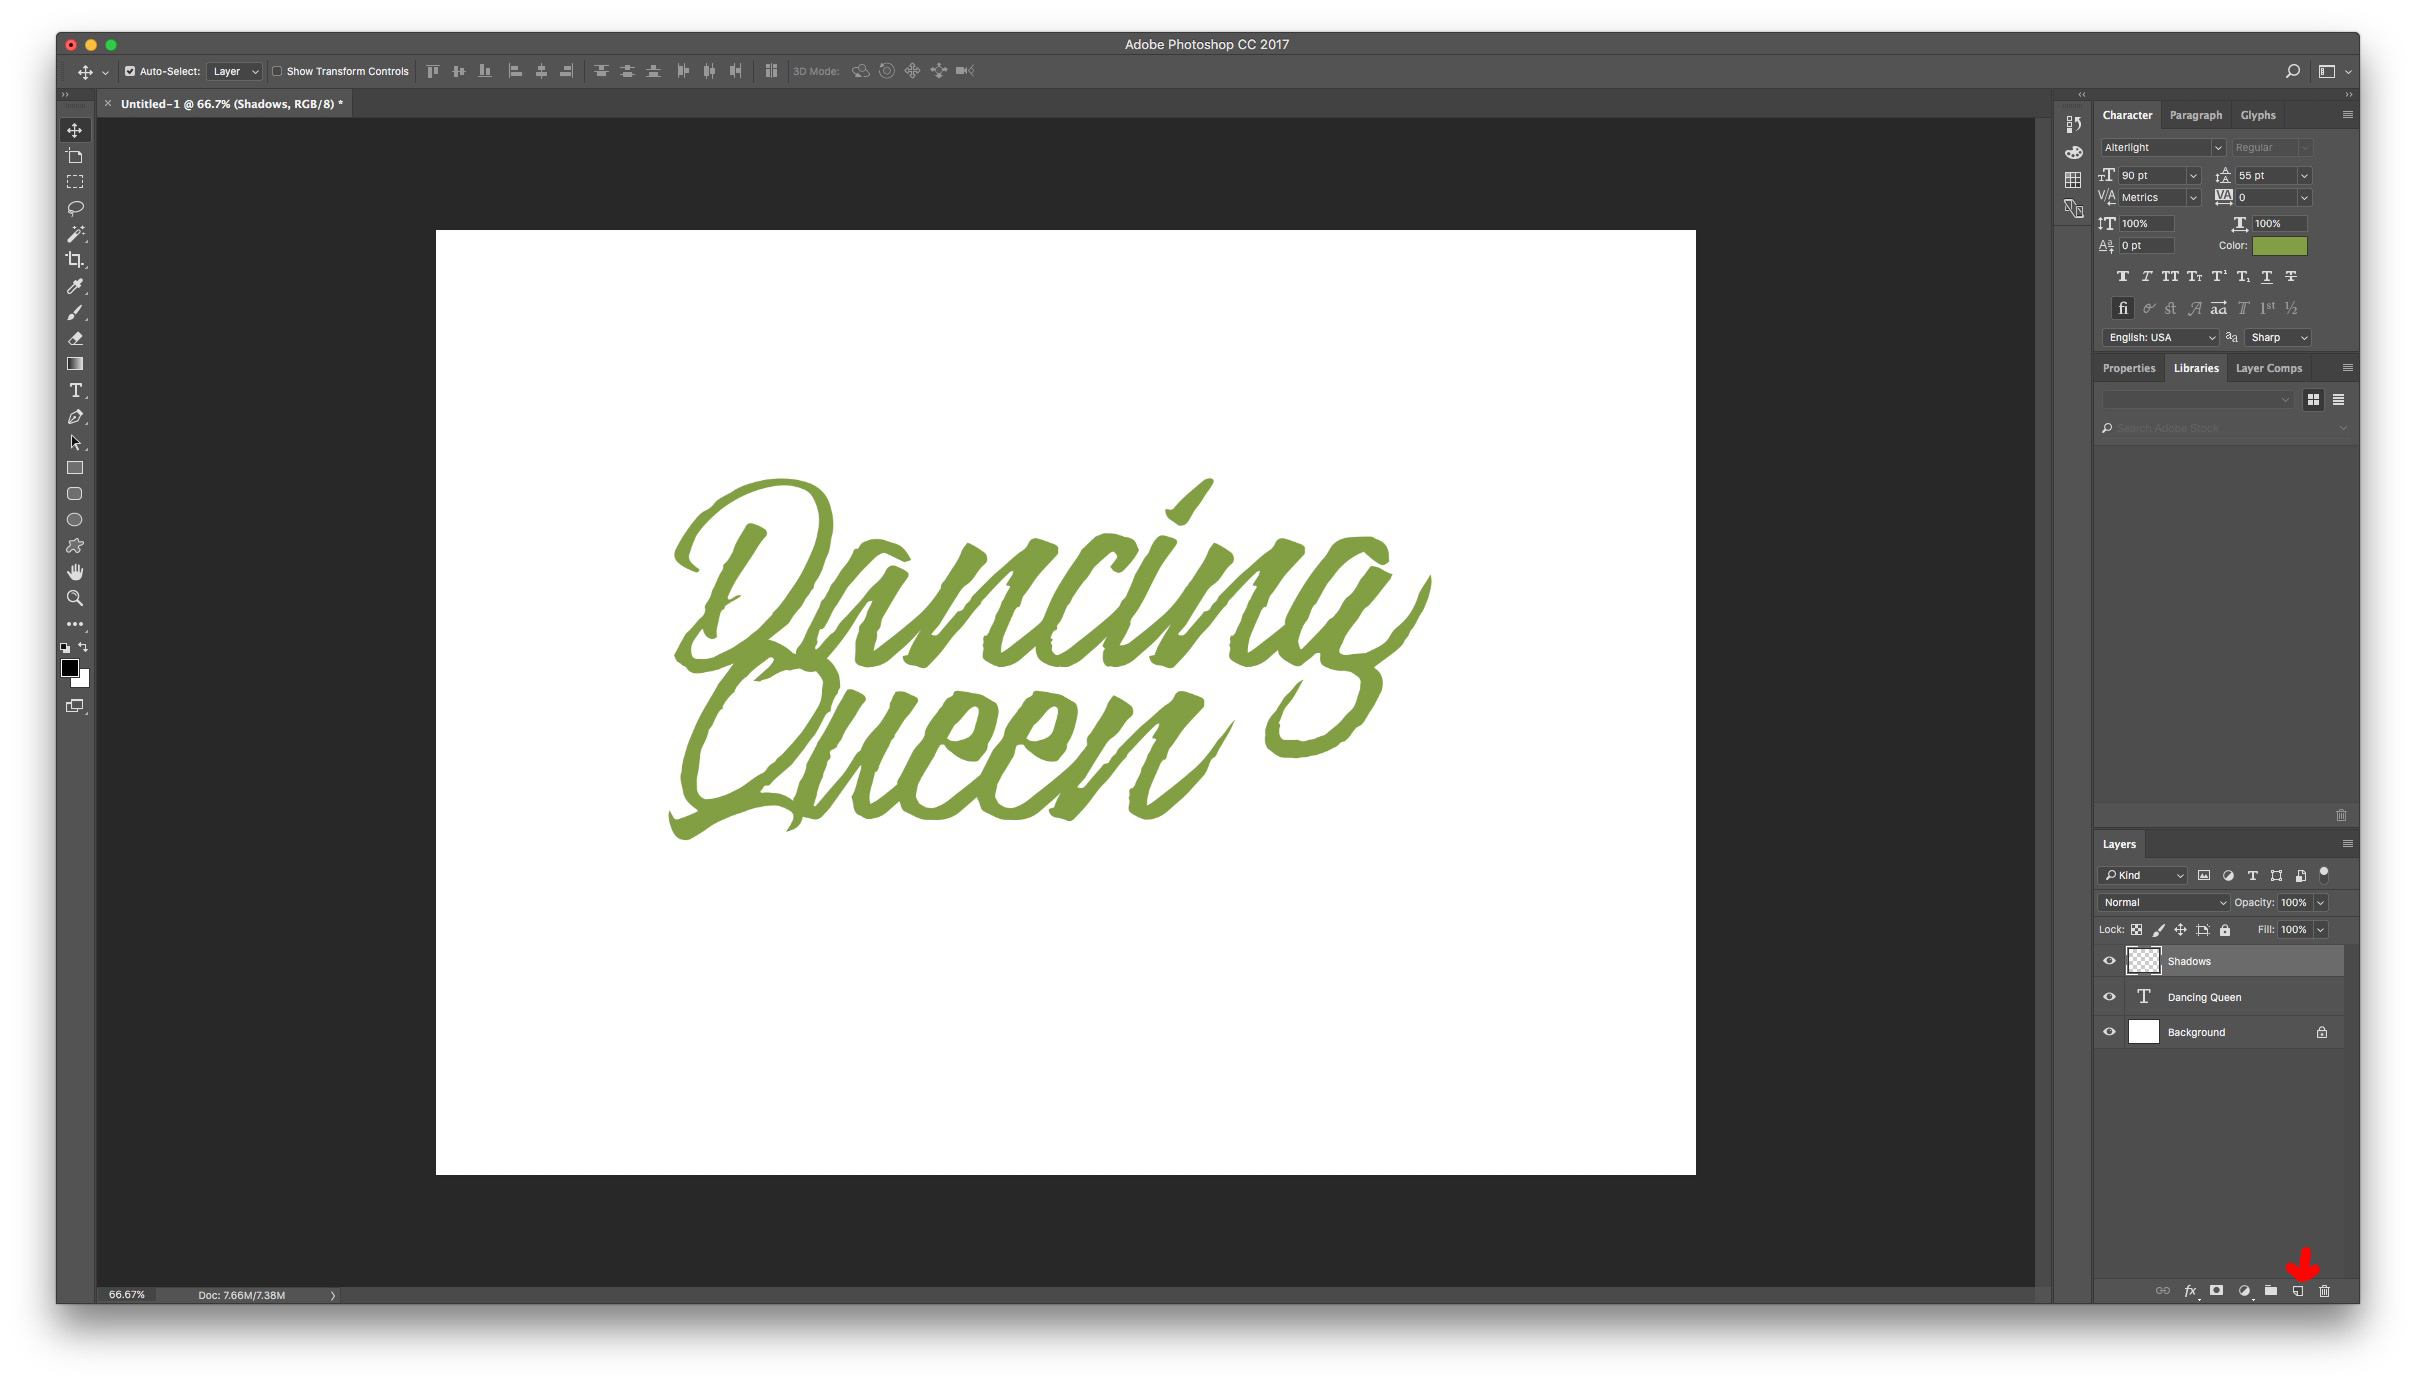
7 - Before starting decide where your overlapping and shadows are going to be placed.

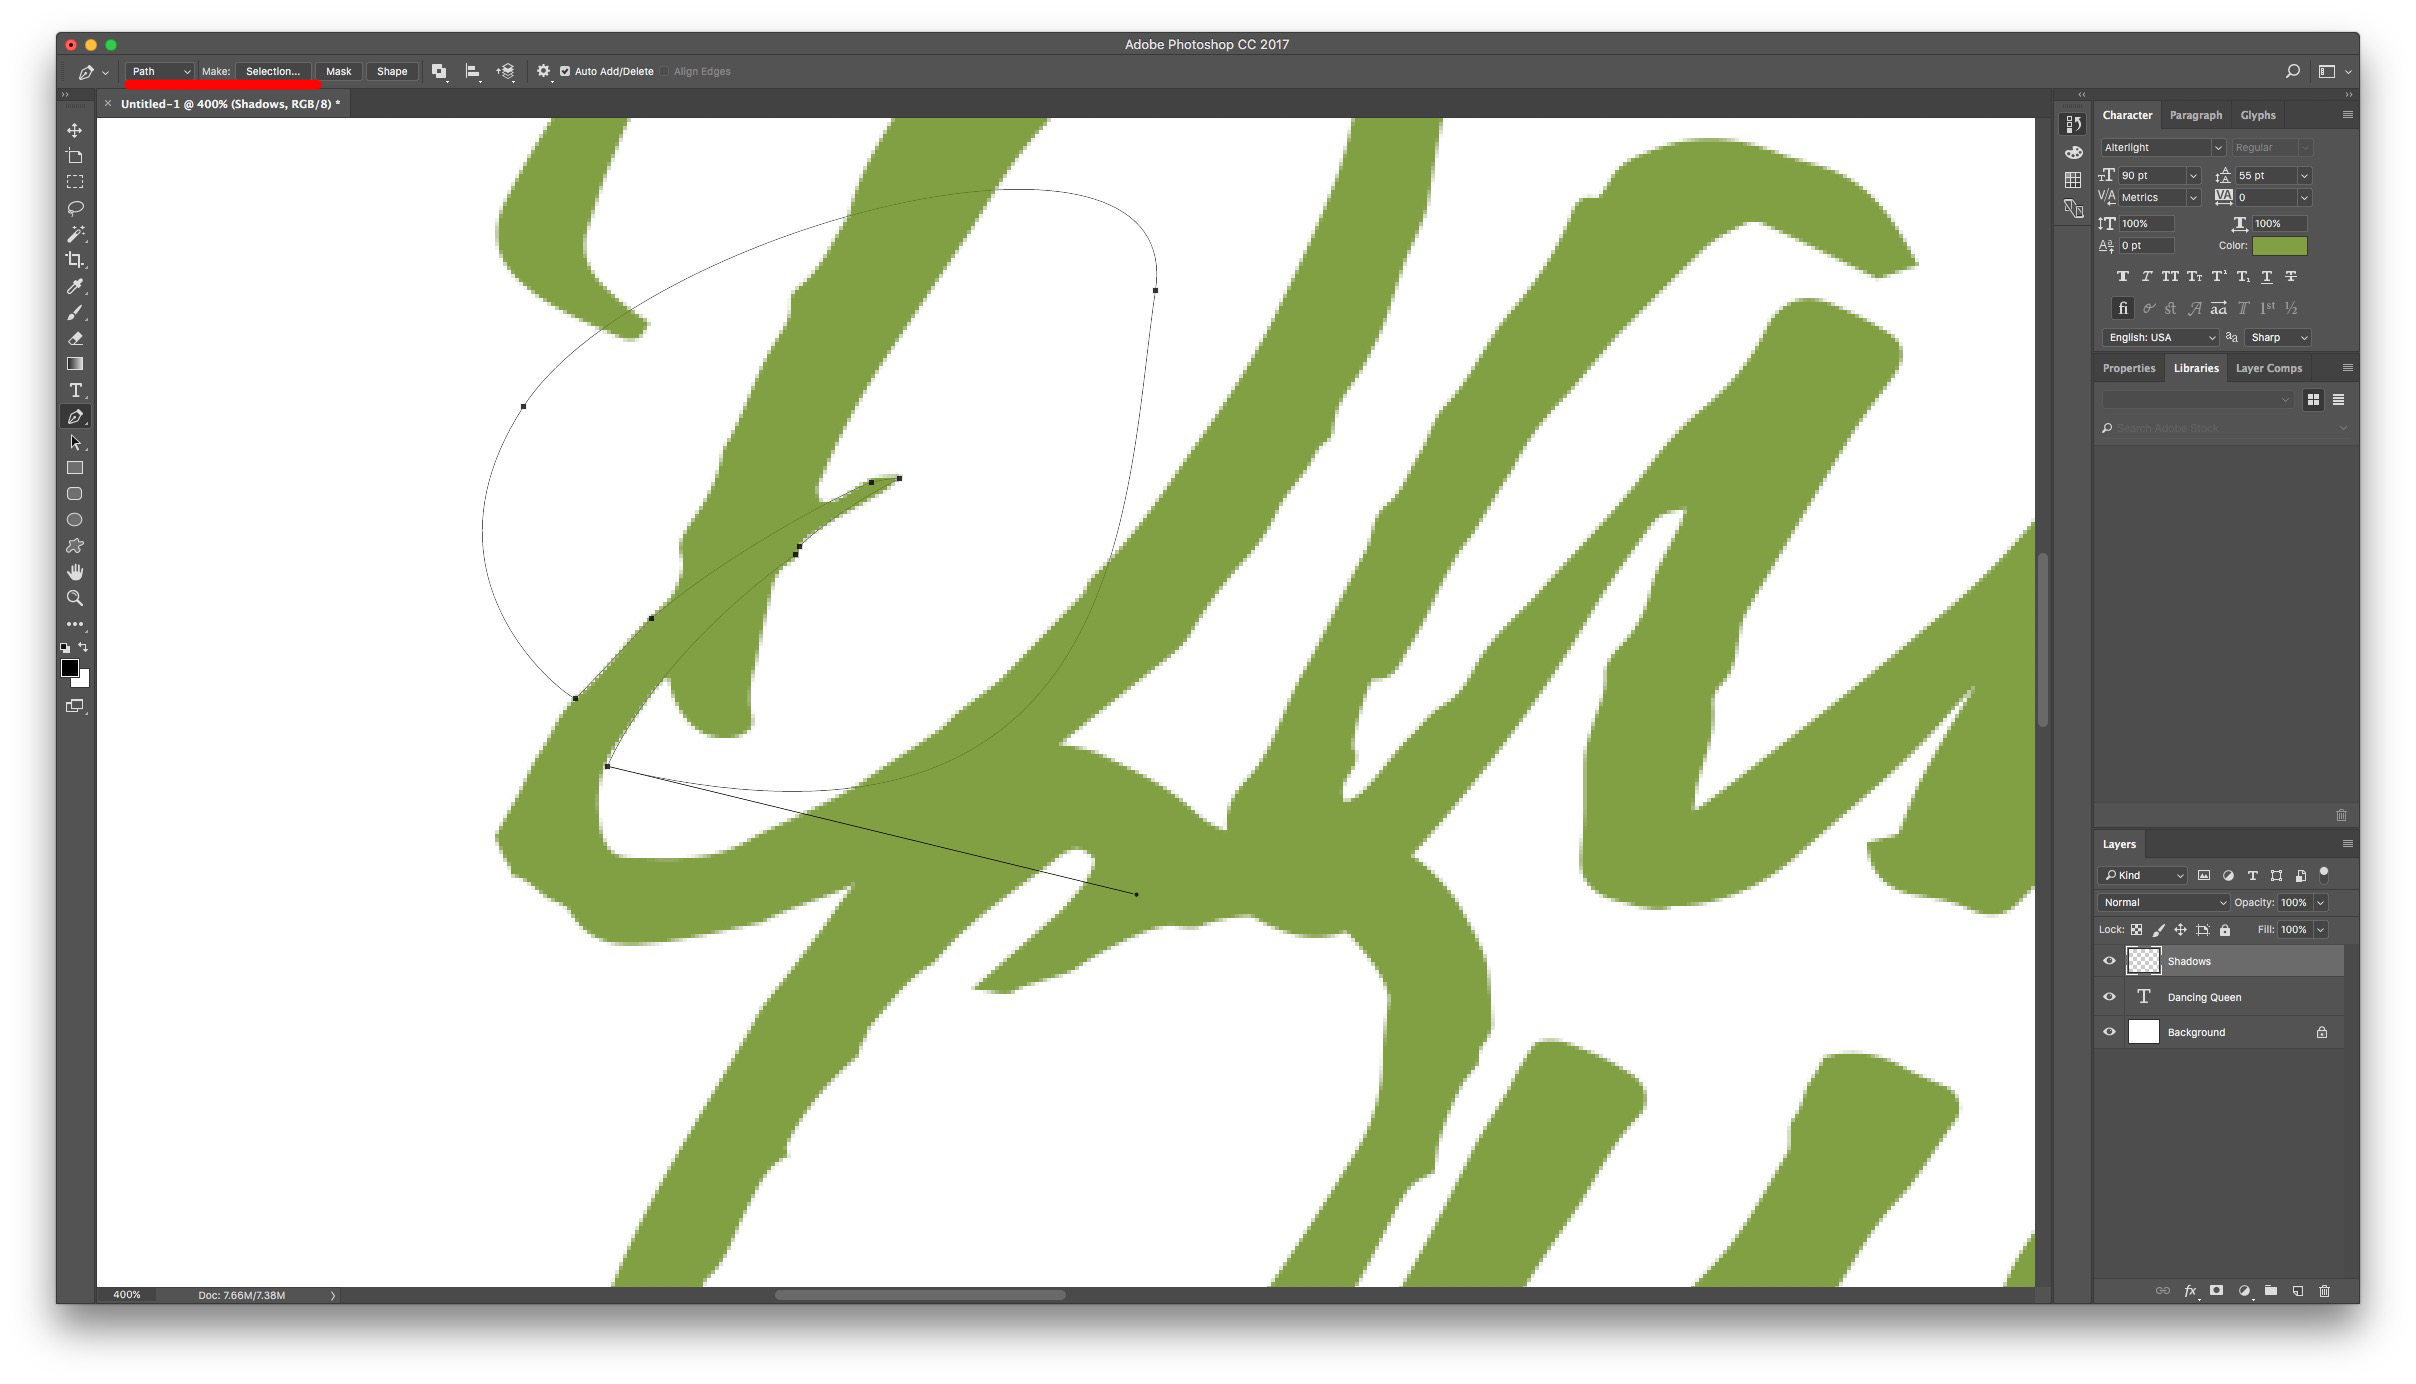
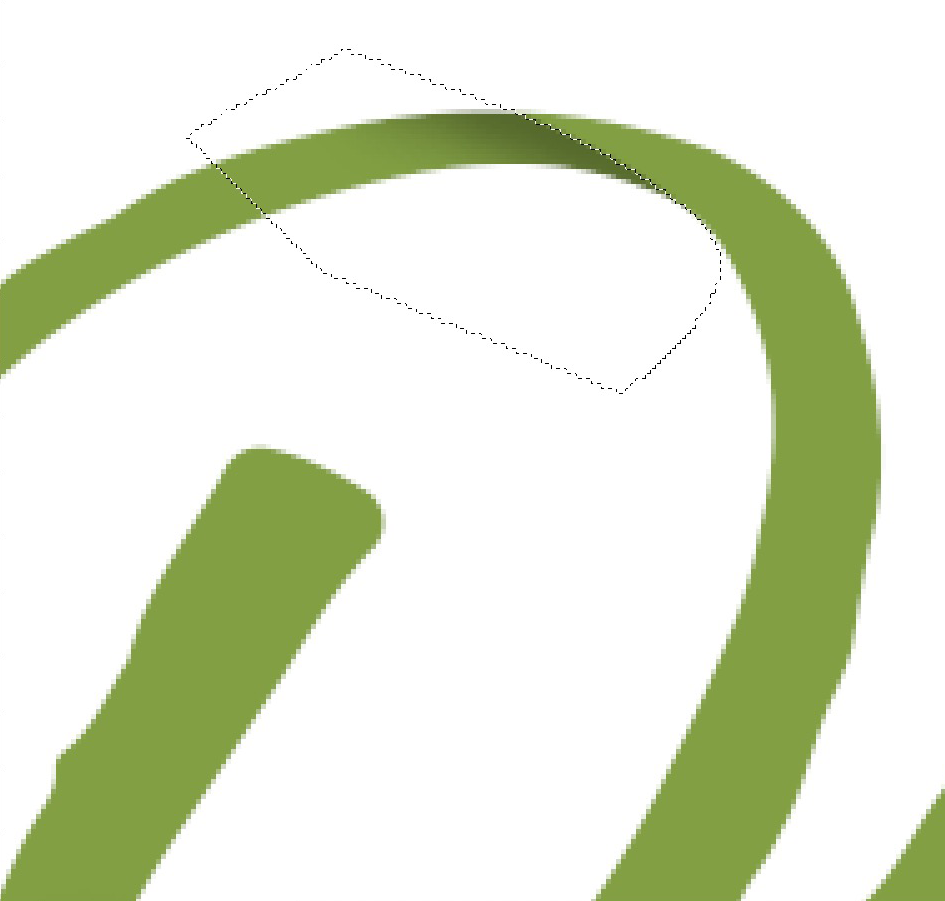
8 - Make sure your “Shadows” layer is selected and then use the Pen Tool (Selecting the Path drawing option) to draw a path that outlines the areas that overlap. Leave a good space around so your shadow won’t be cut. The area you want to select is the one that is going to be “under” the overlapping.
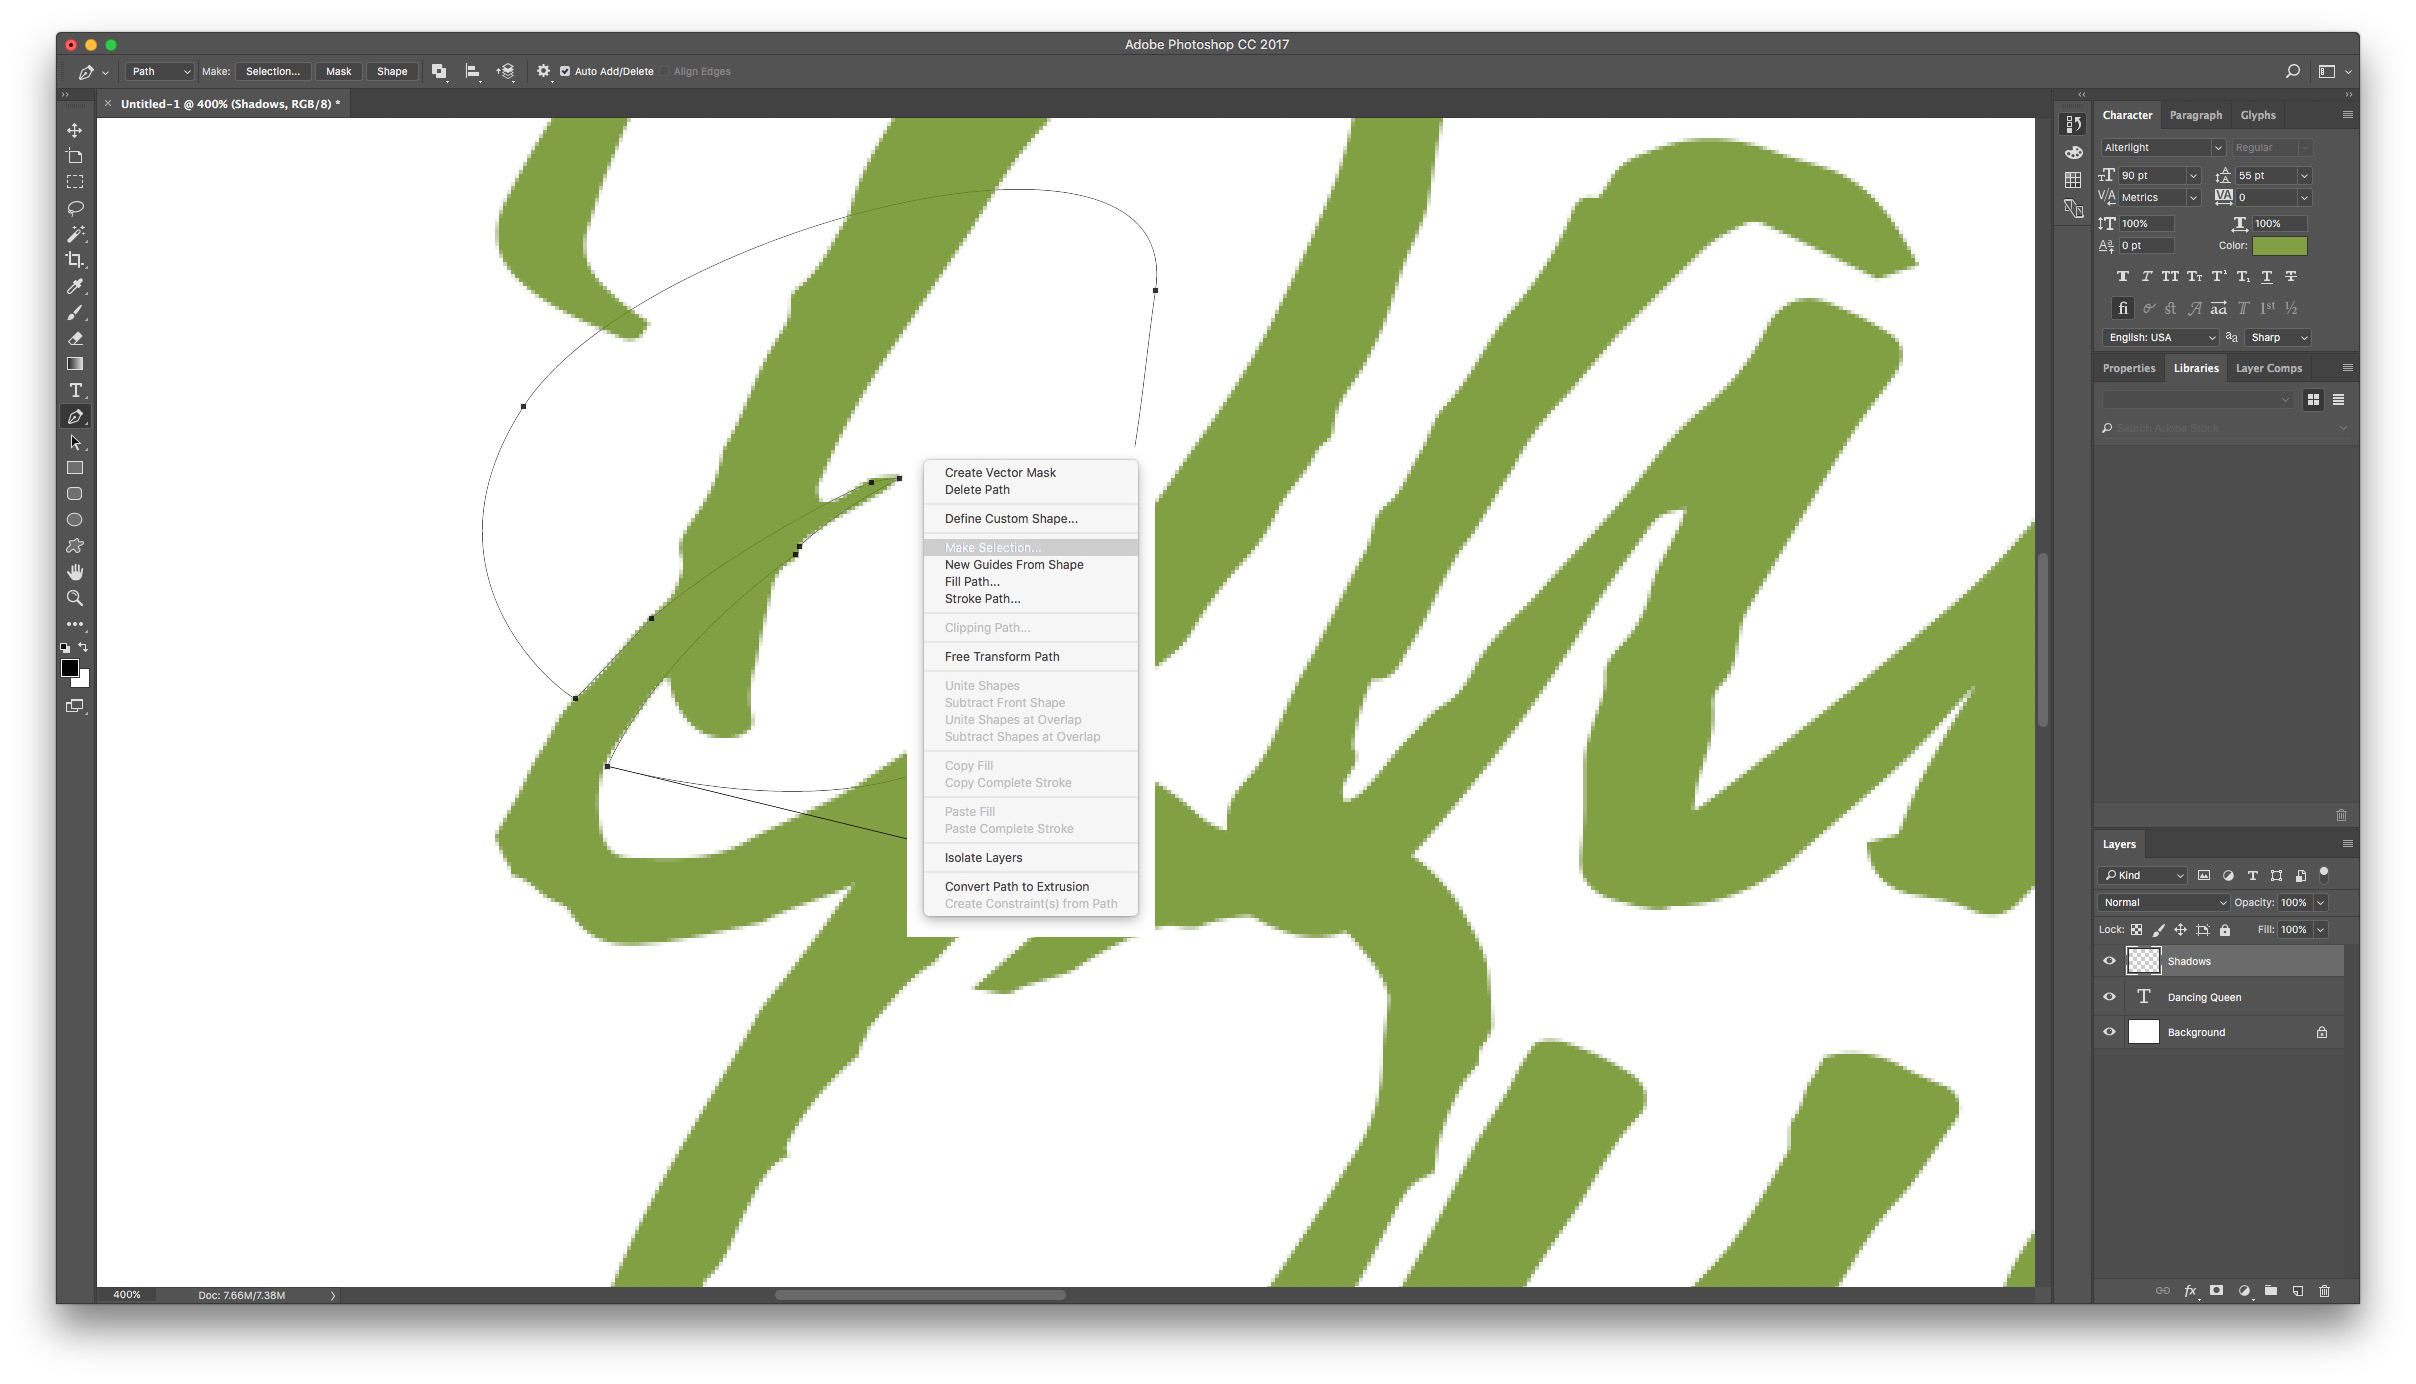
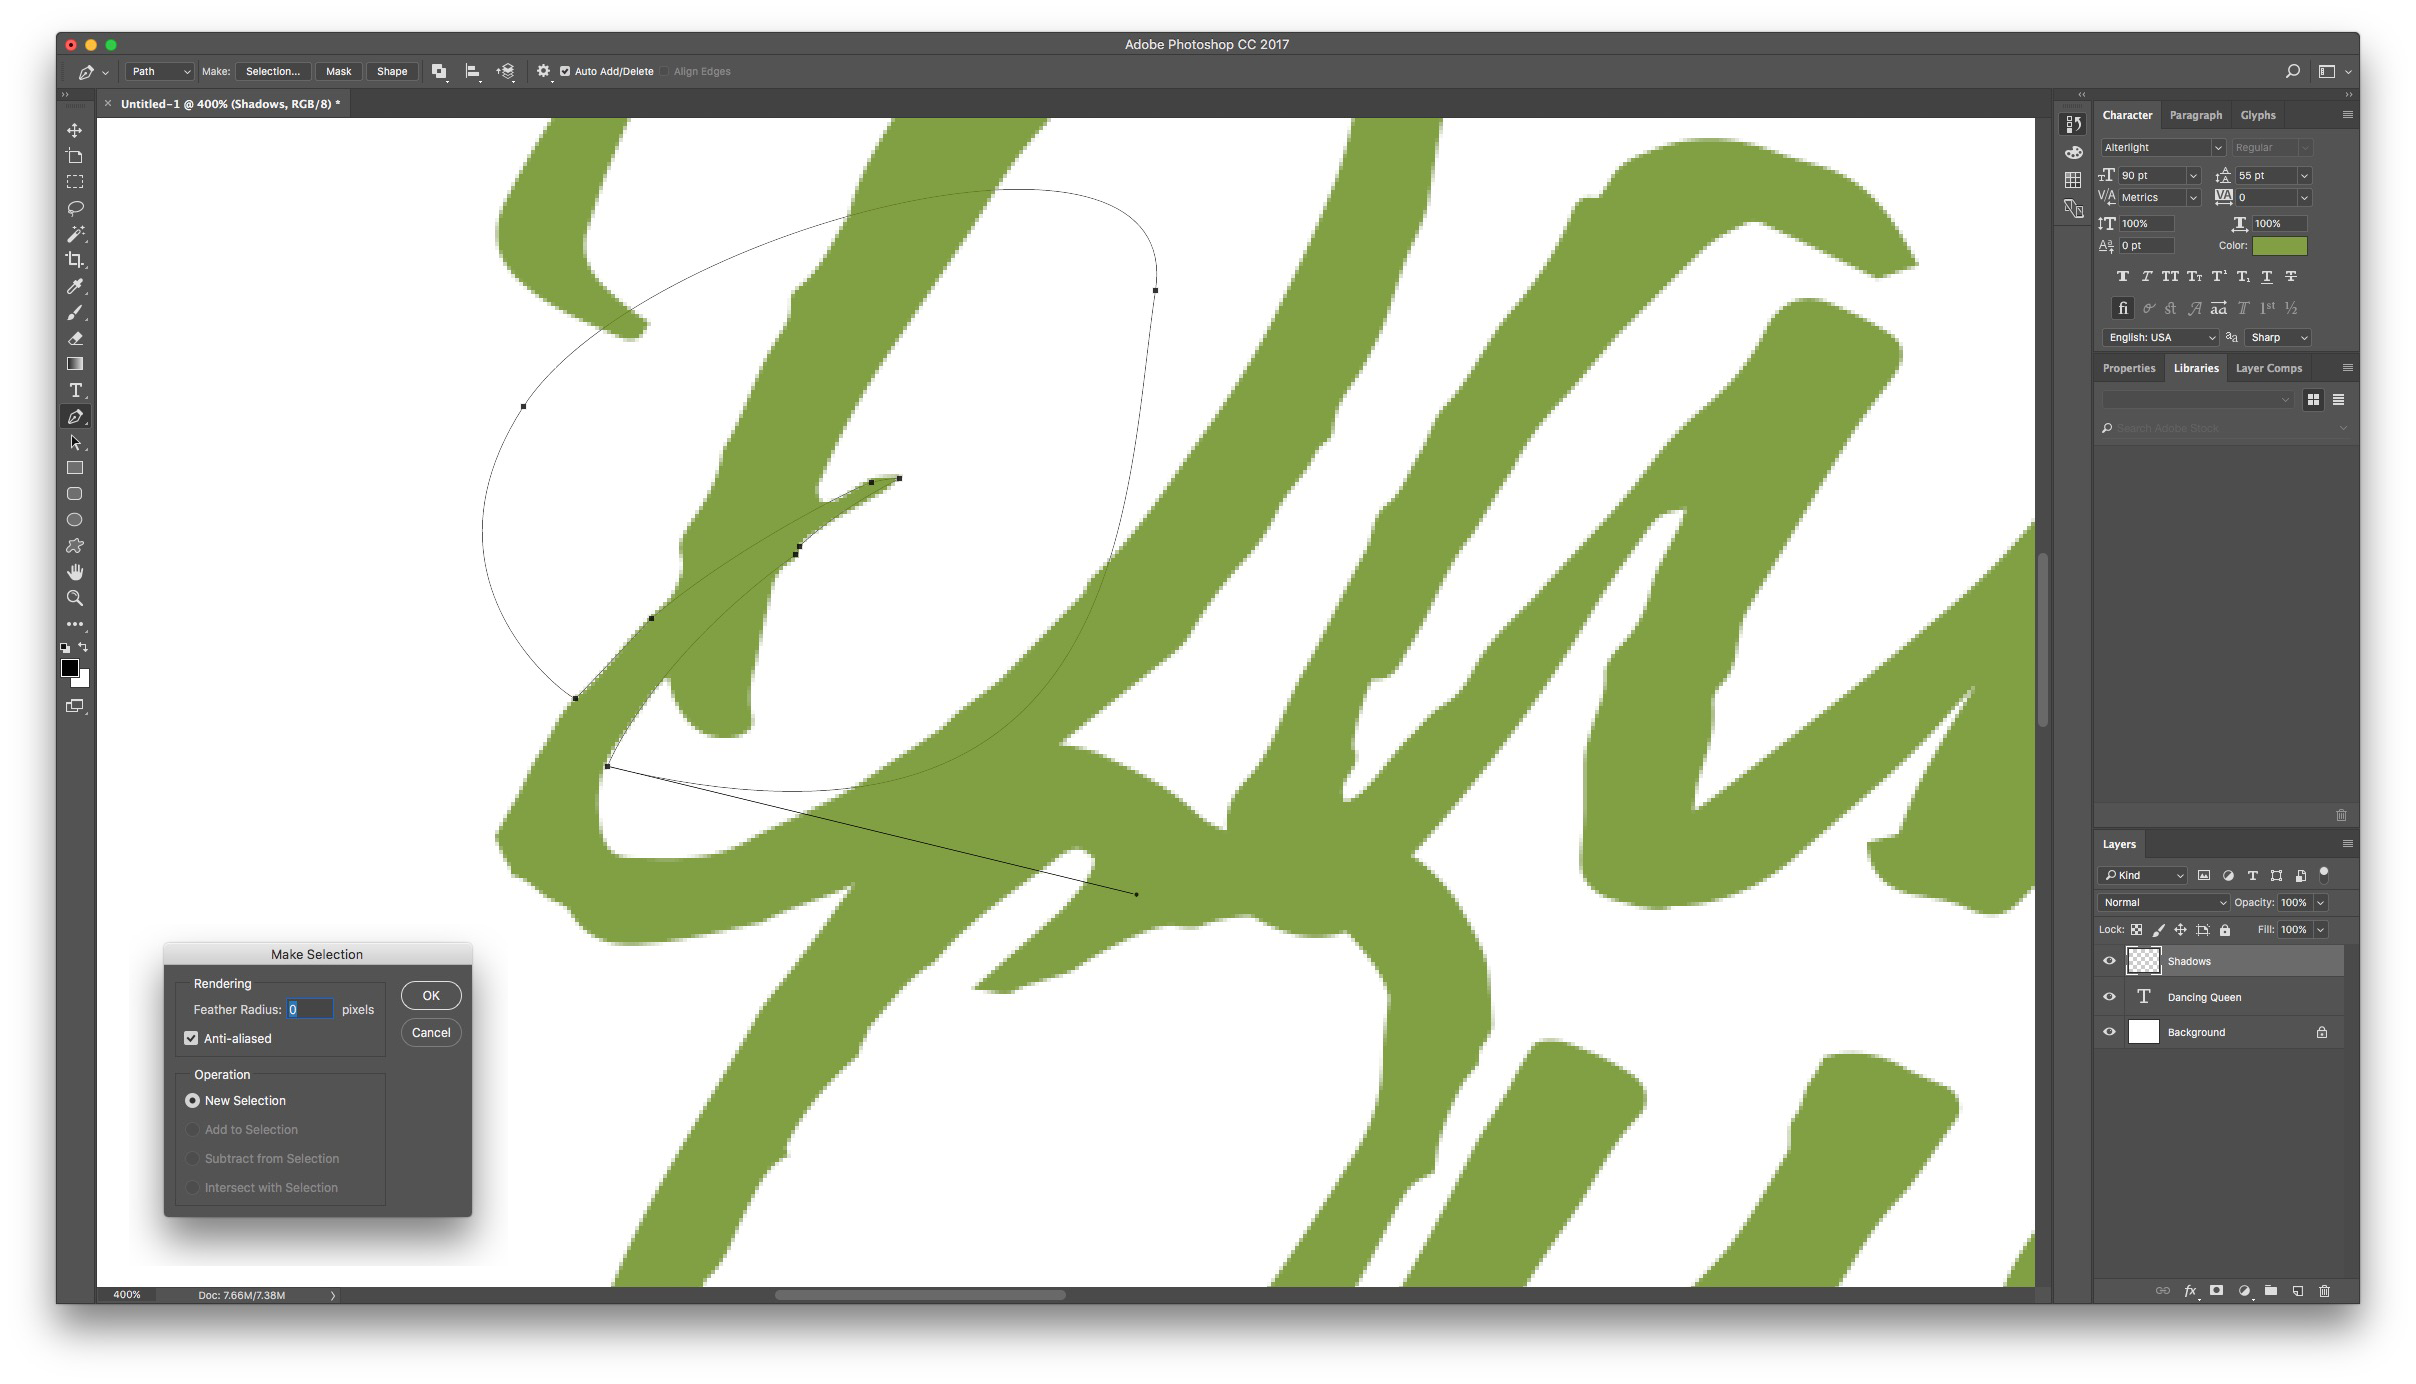
9 - Right Click your path and select “Make Selection” from the Pop Up menu. Leave the Feather value at 0.

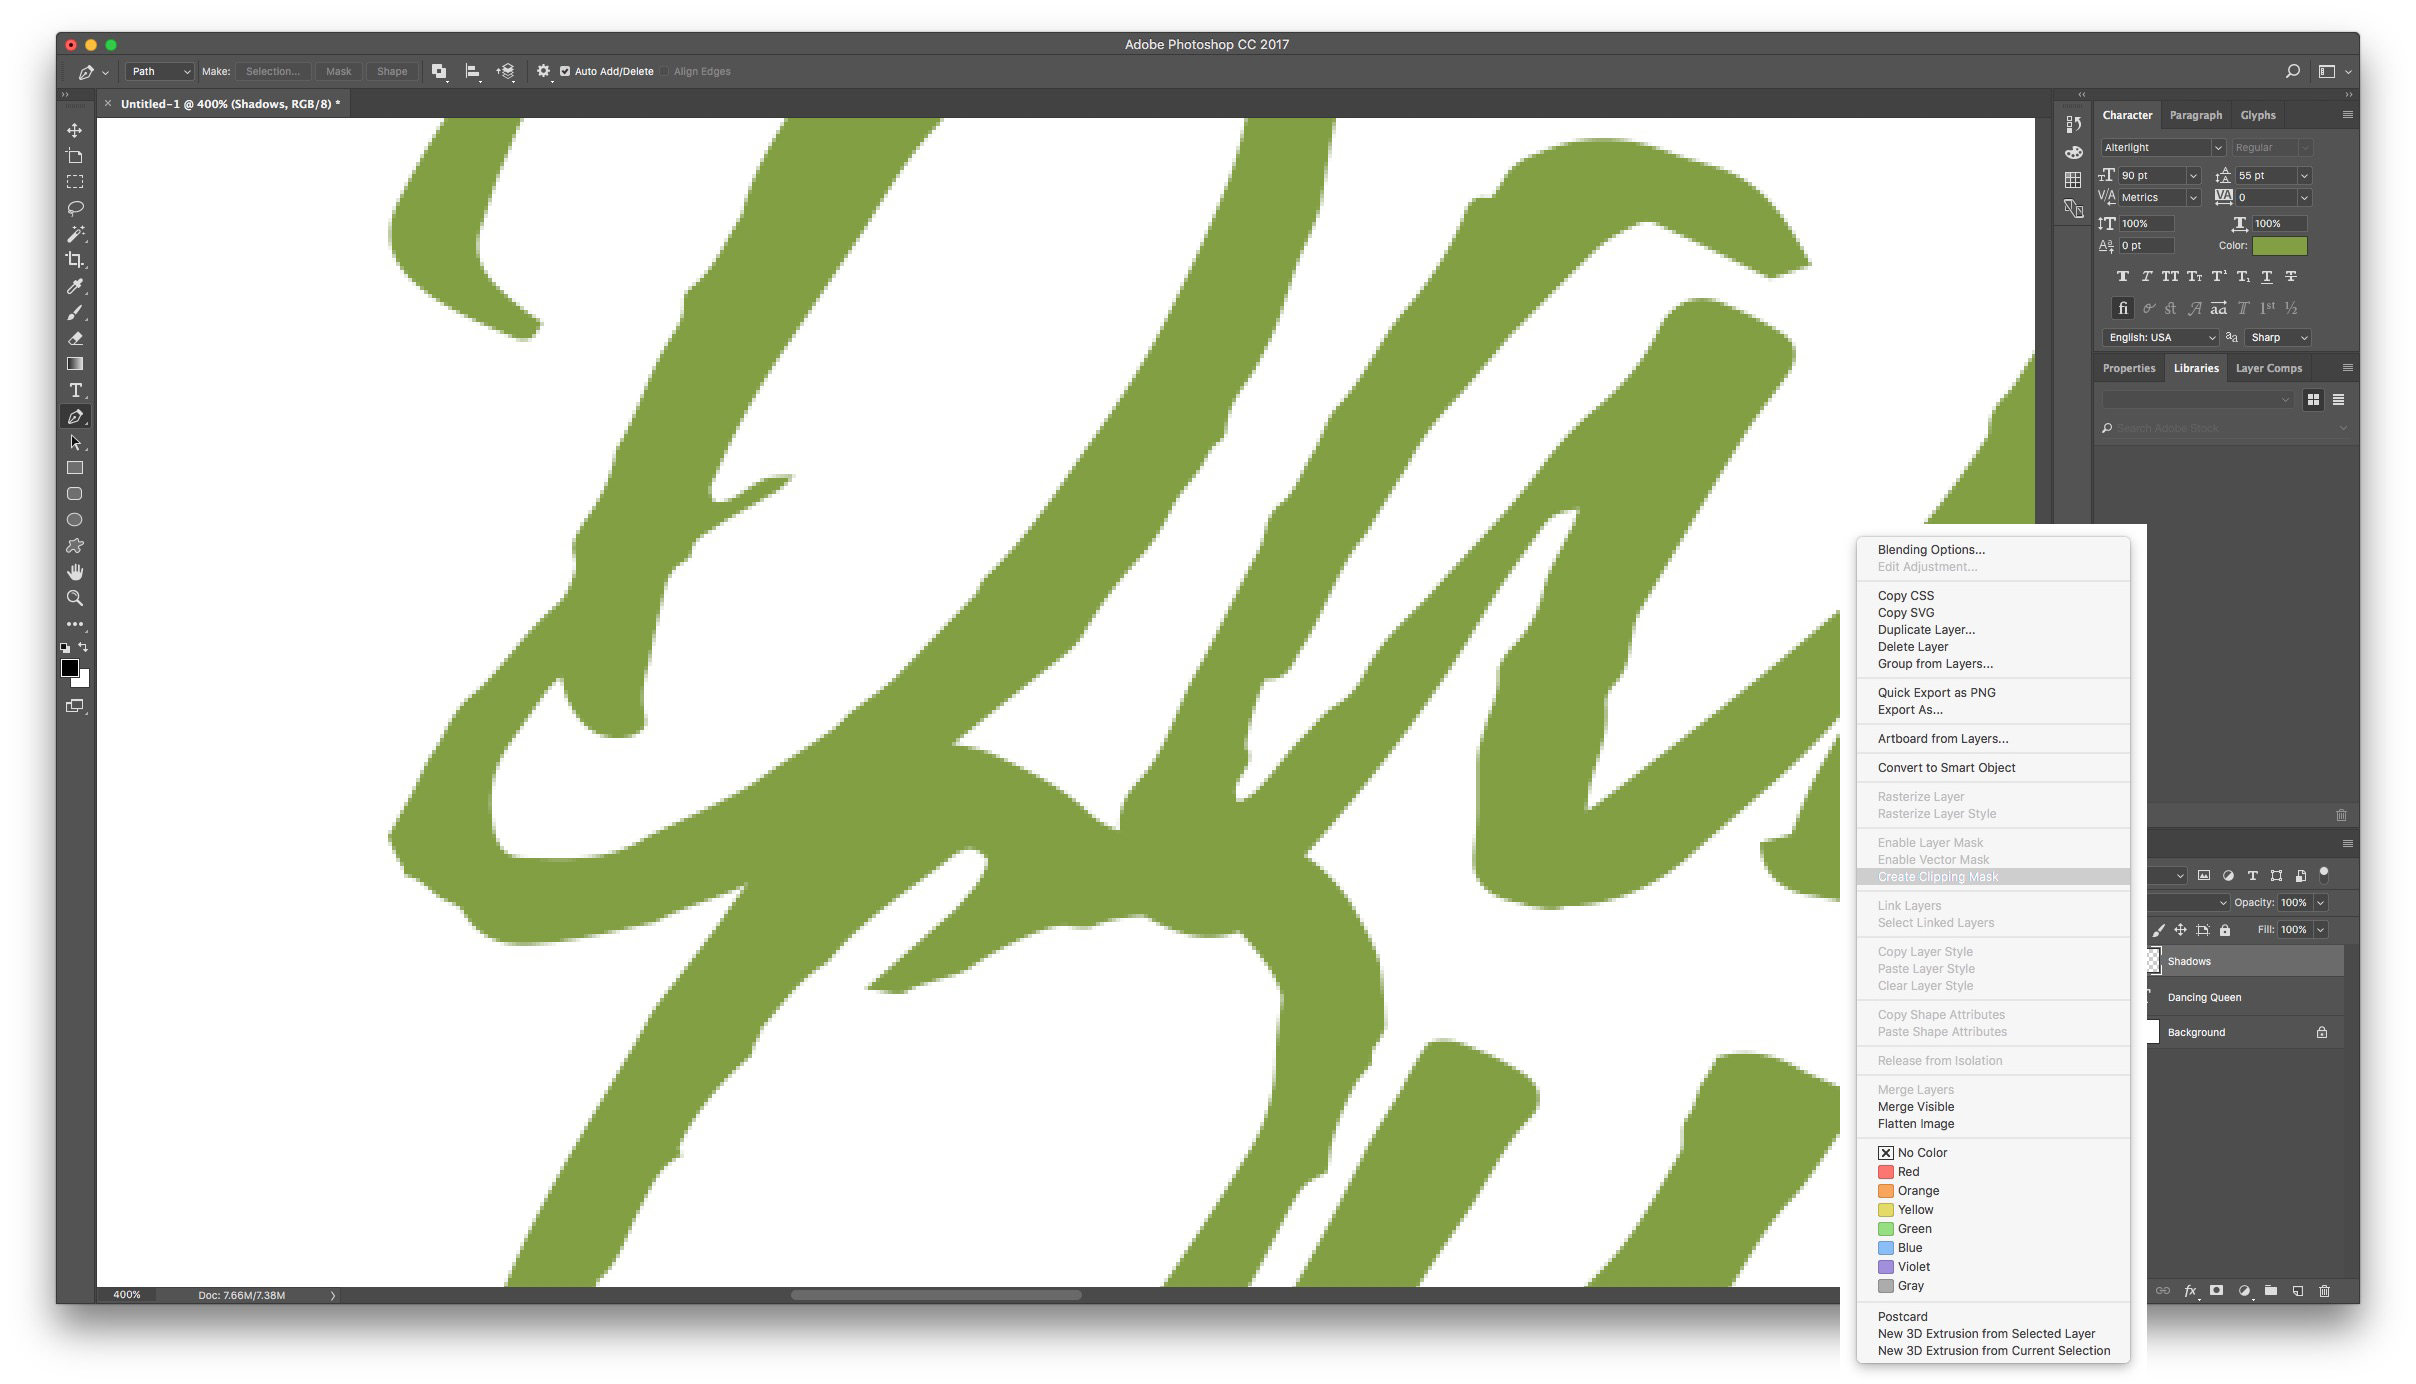
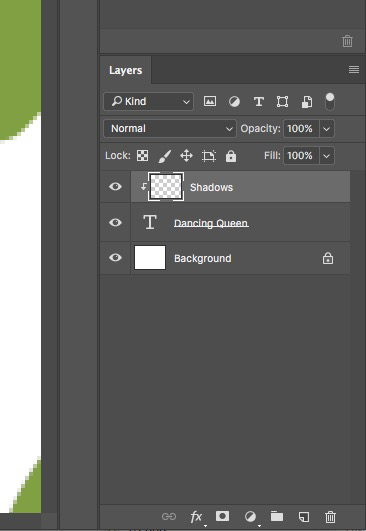
10 - Right Click on top of your Shadows layer and select “Create Clipping Mask”. This will keep the Shadows layer clipped to Text layer.
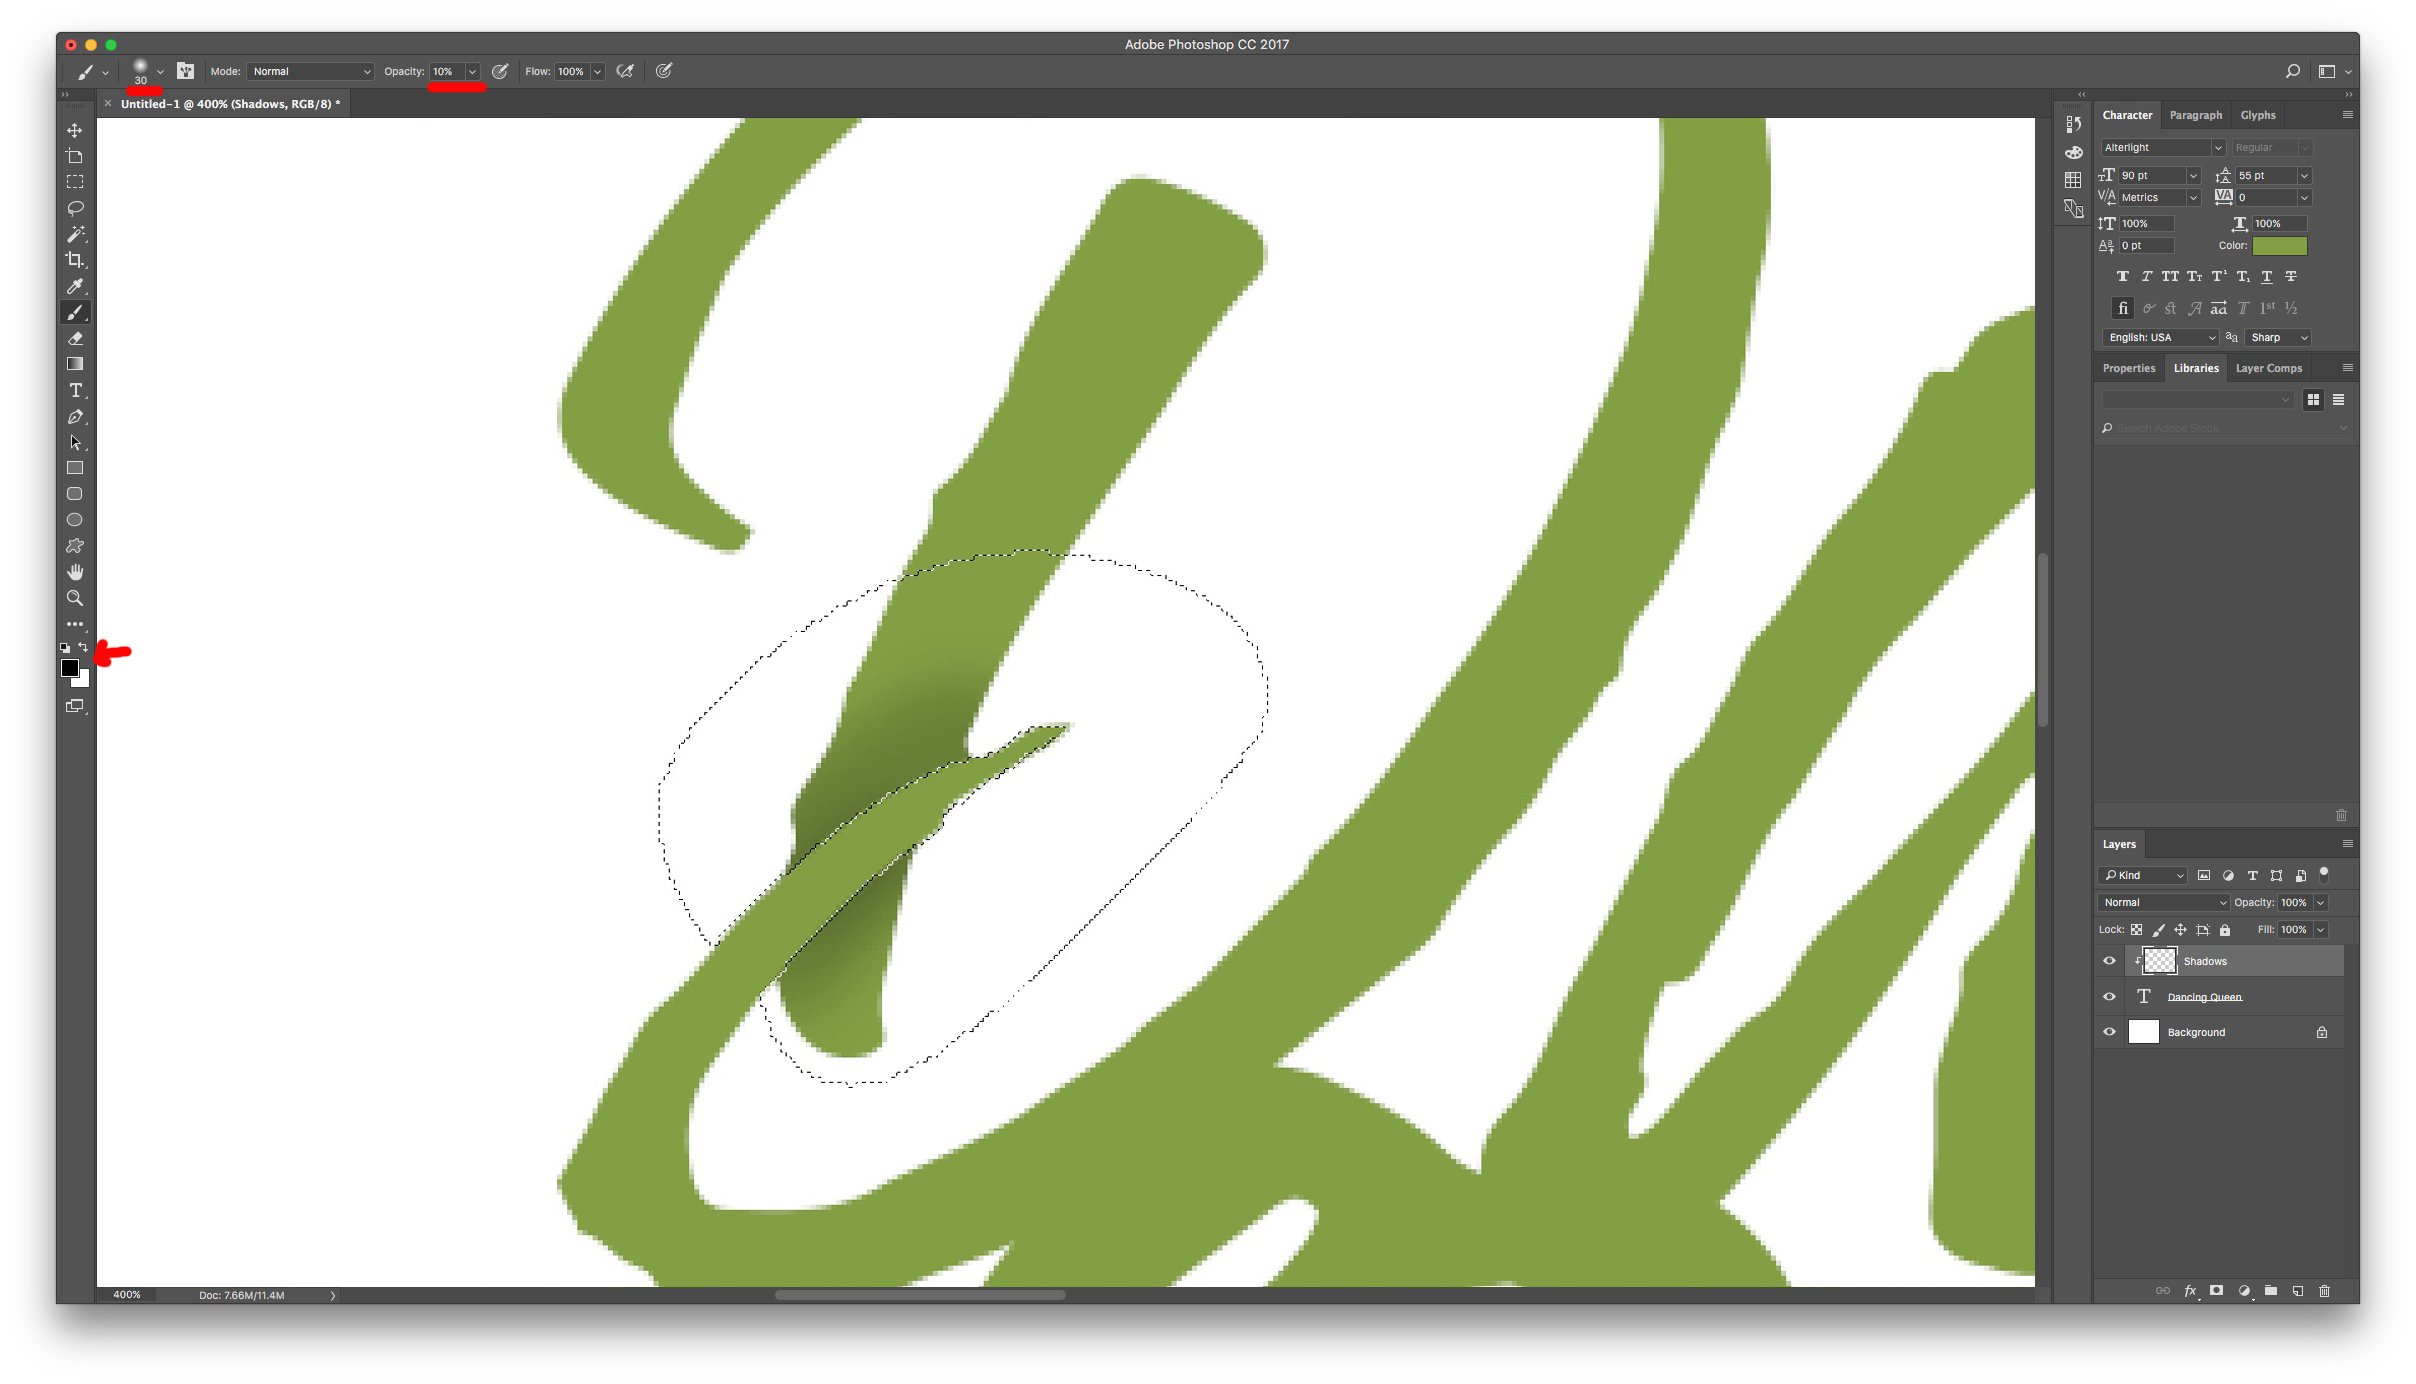
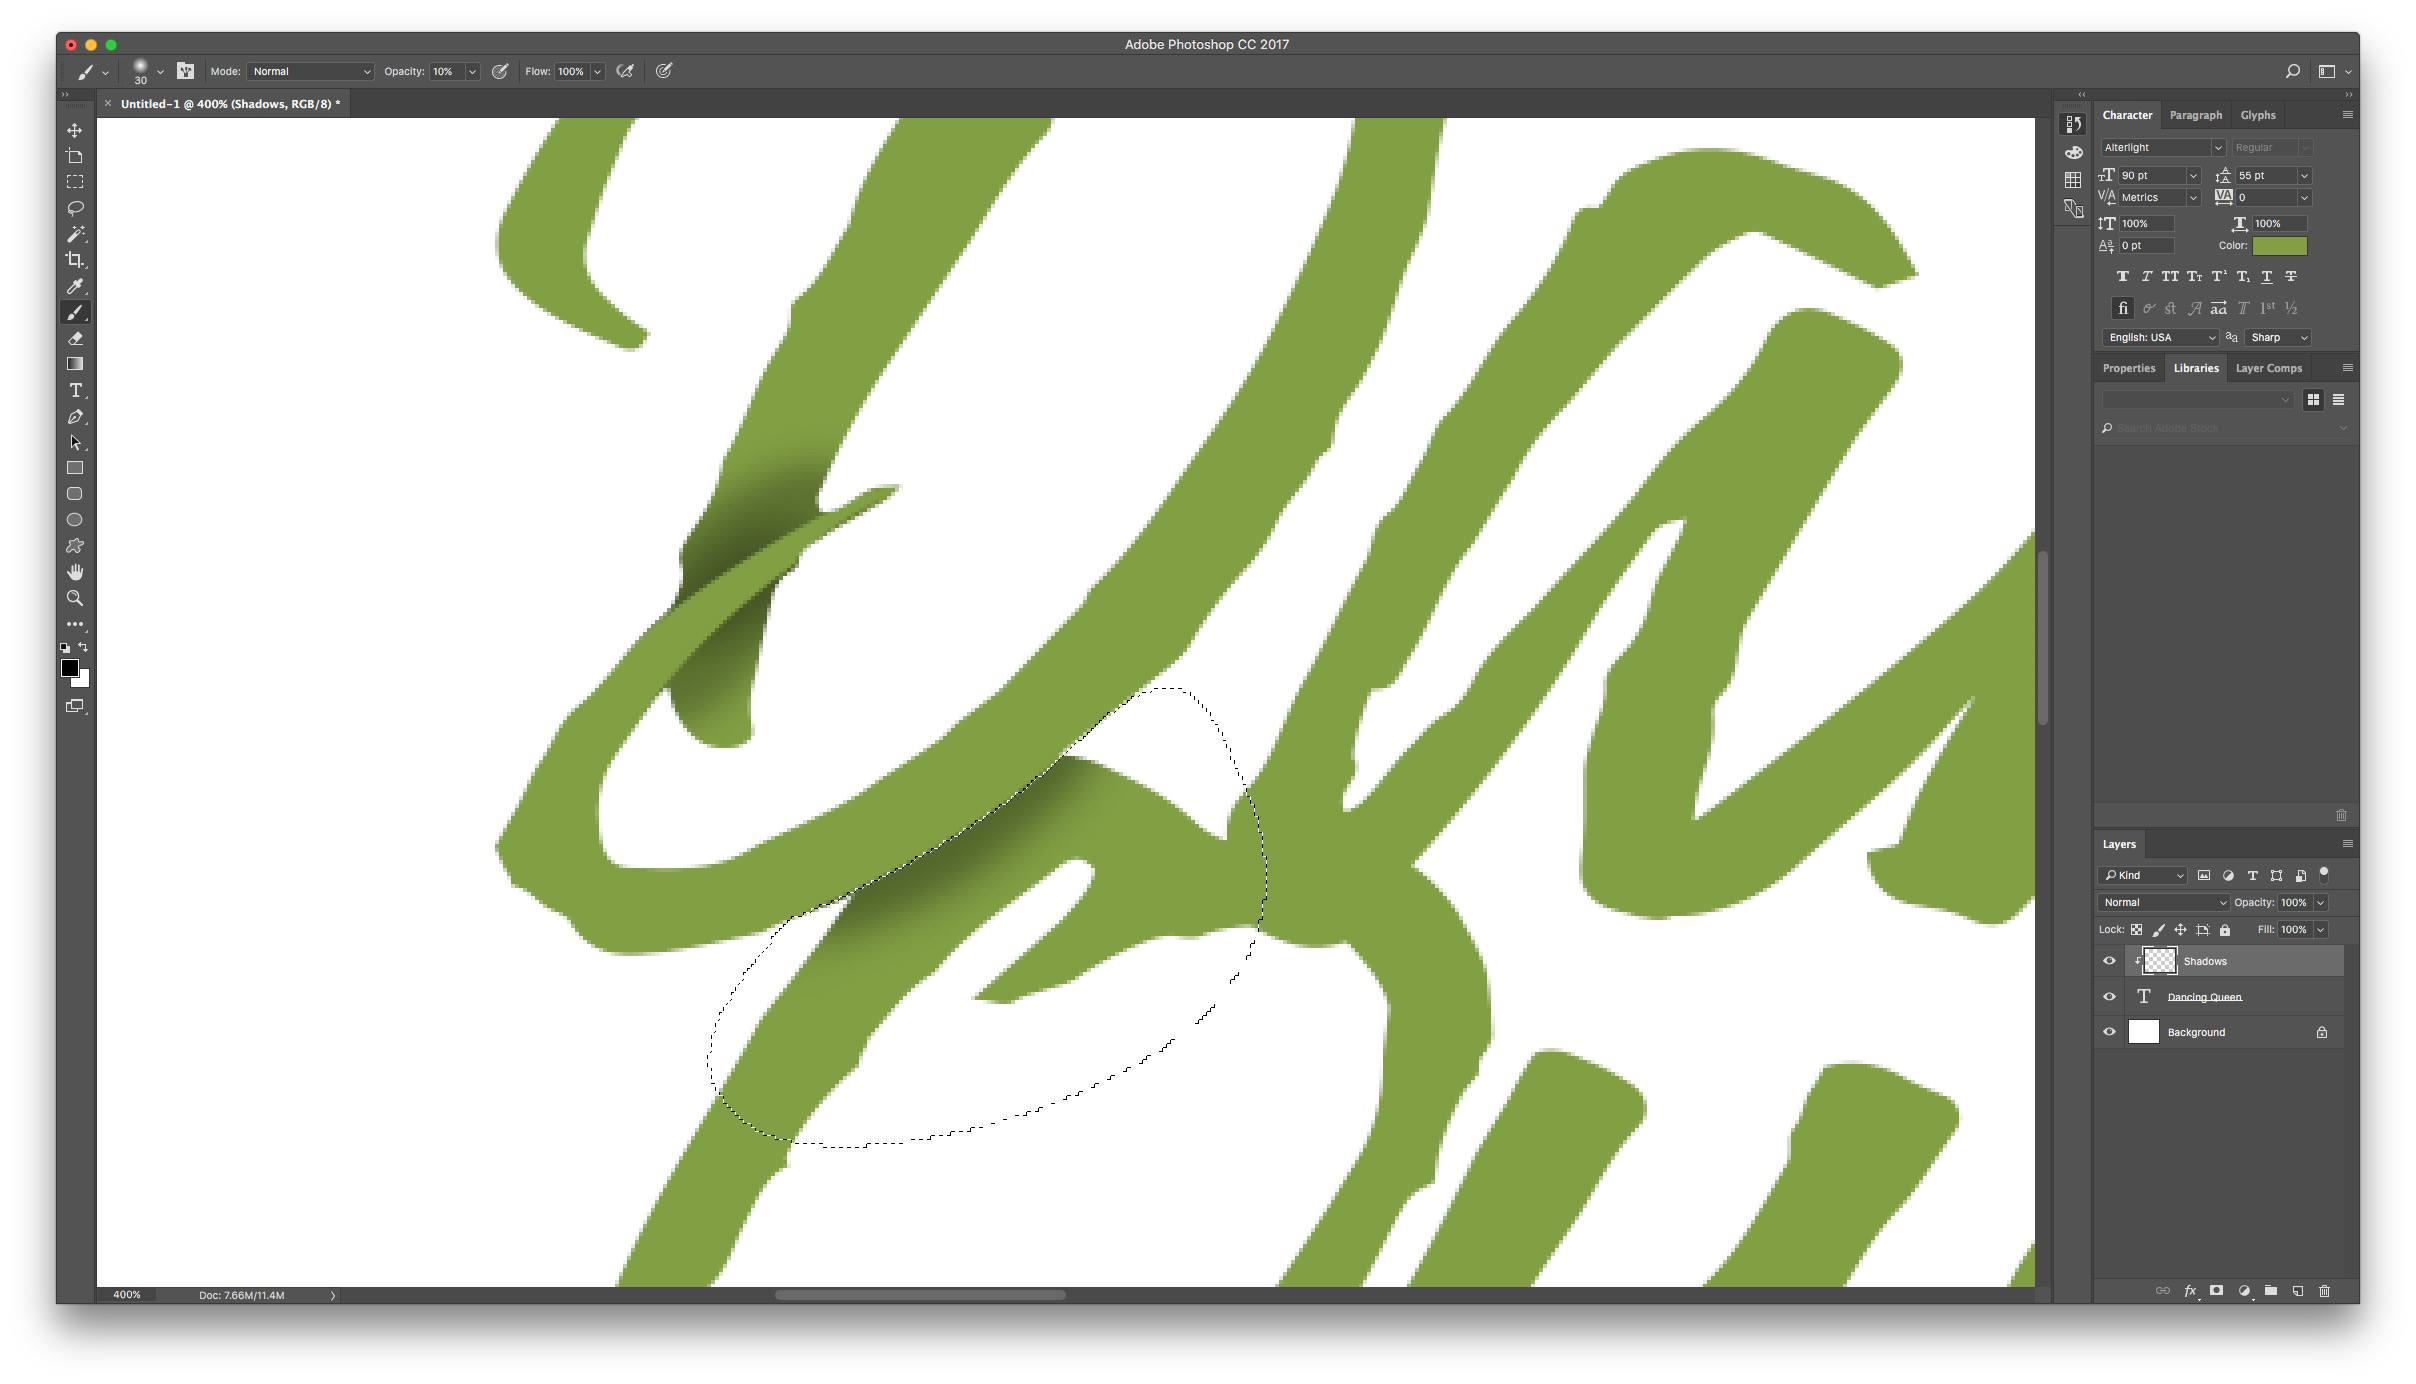
11 - Use the Brush tool and choose black for foreground color and make your brush Size 30 px, 0% Hardness and 10% Opacity. Paint inside your selection to create a shadow effect.
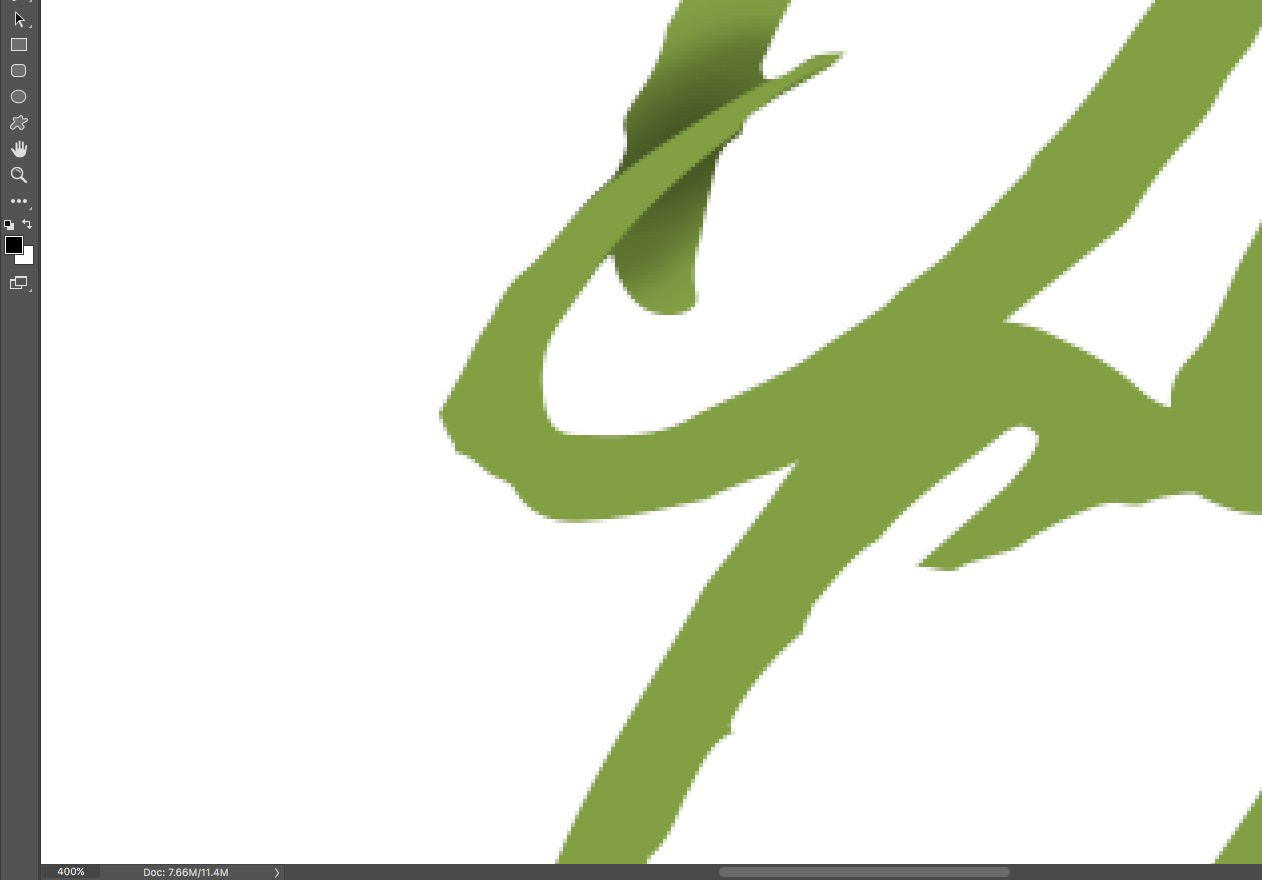
12 - Repeat the process in other overlapping areas.
13 - Check the finished Text.
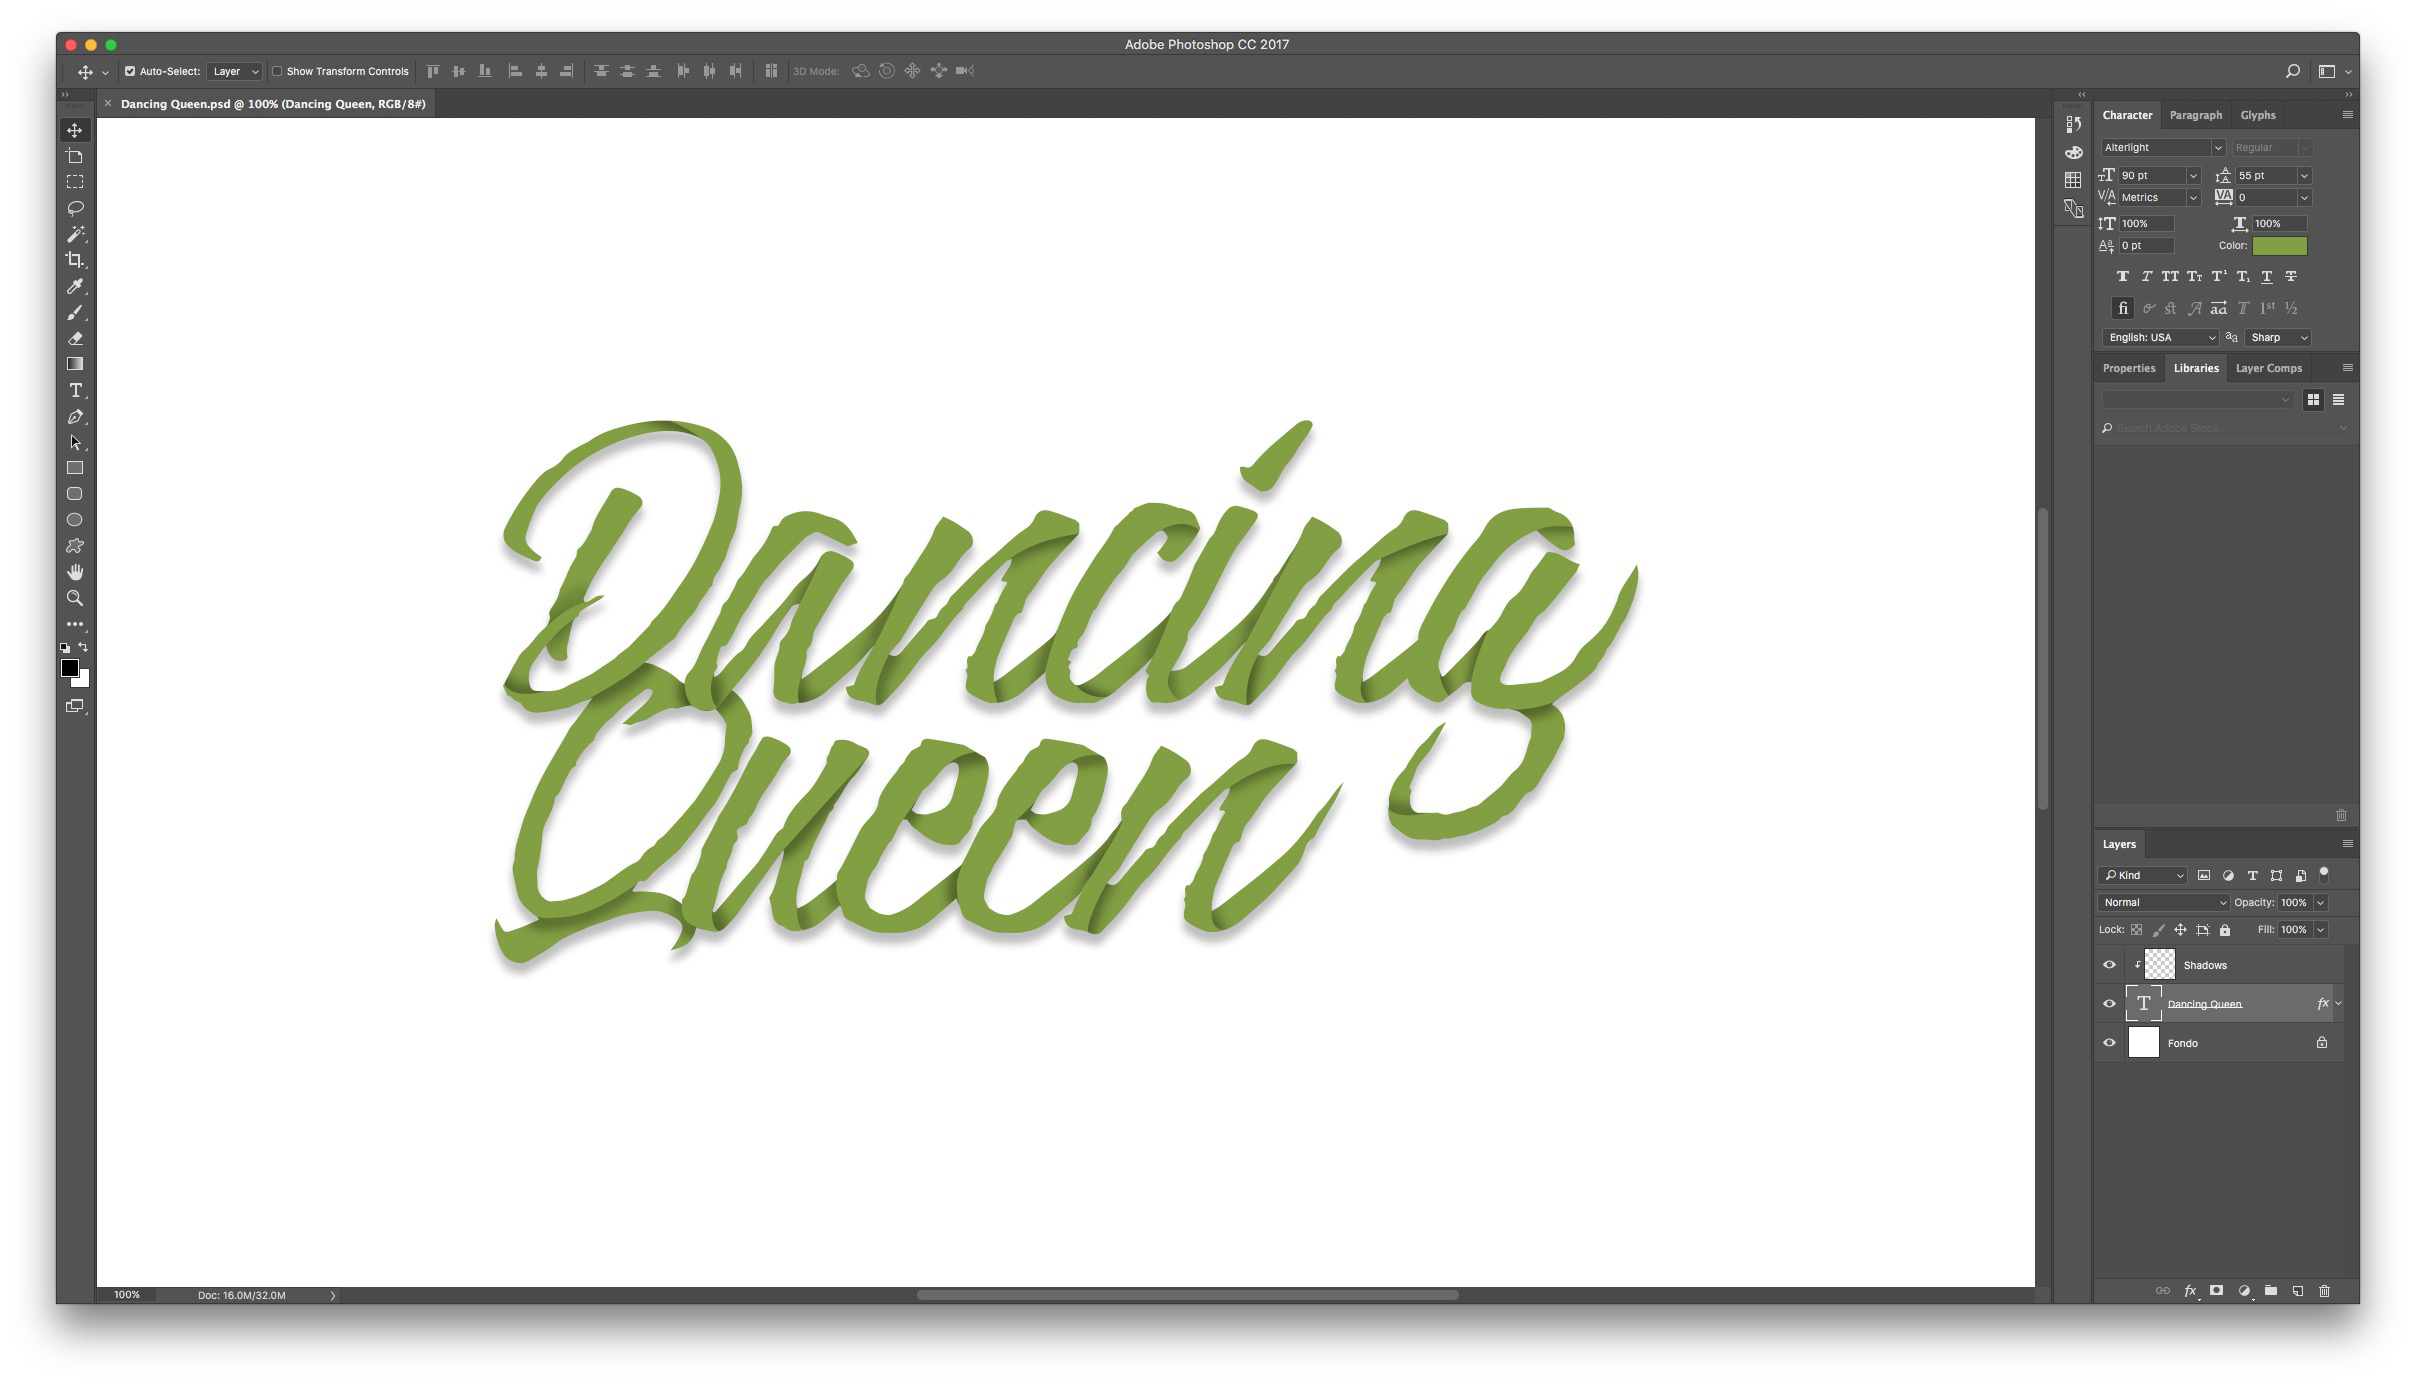
14 - Now we can make some adjustments if you consider this step to be necessary. Choose the Eraser Tool with similar settings as the ones for the Paint Brush (Maybe 20% Opacity instead of 10%) and clean some of the color.
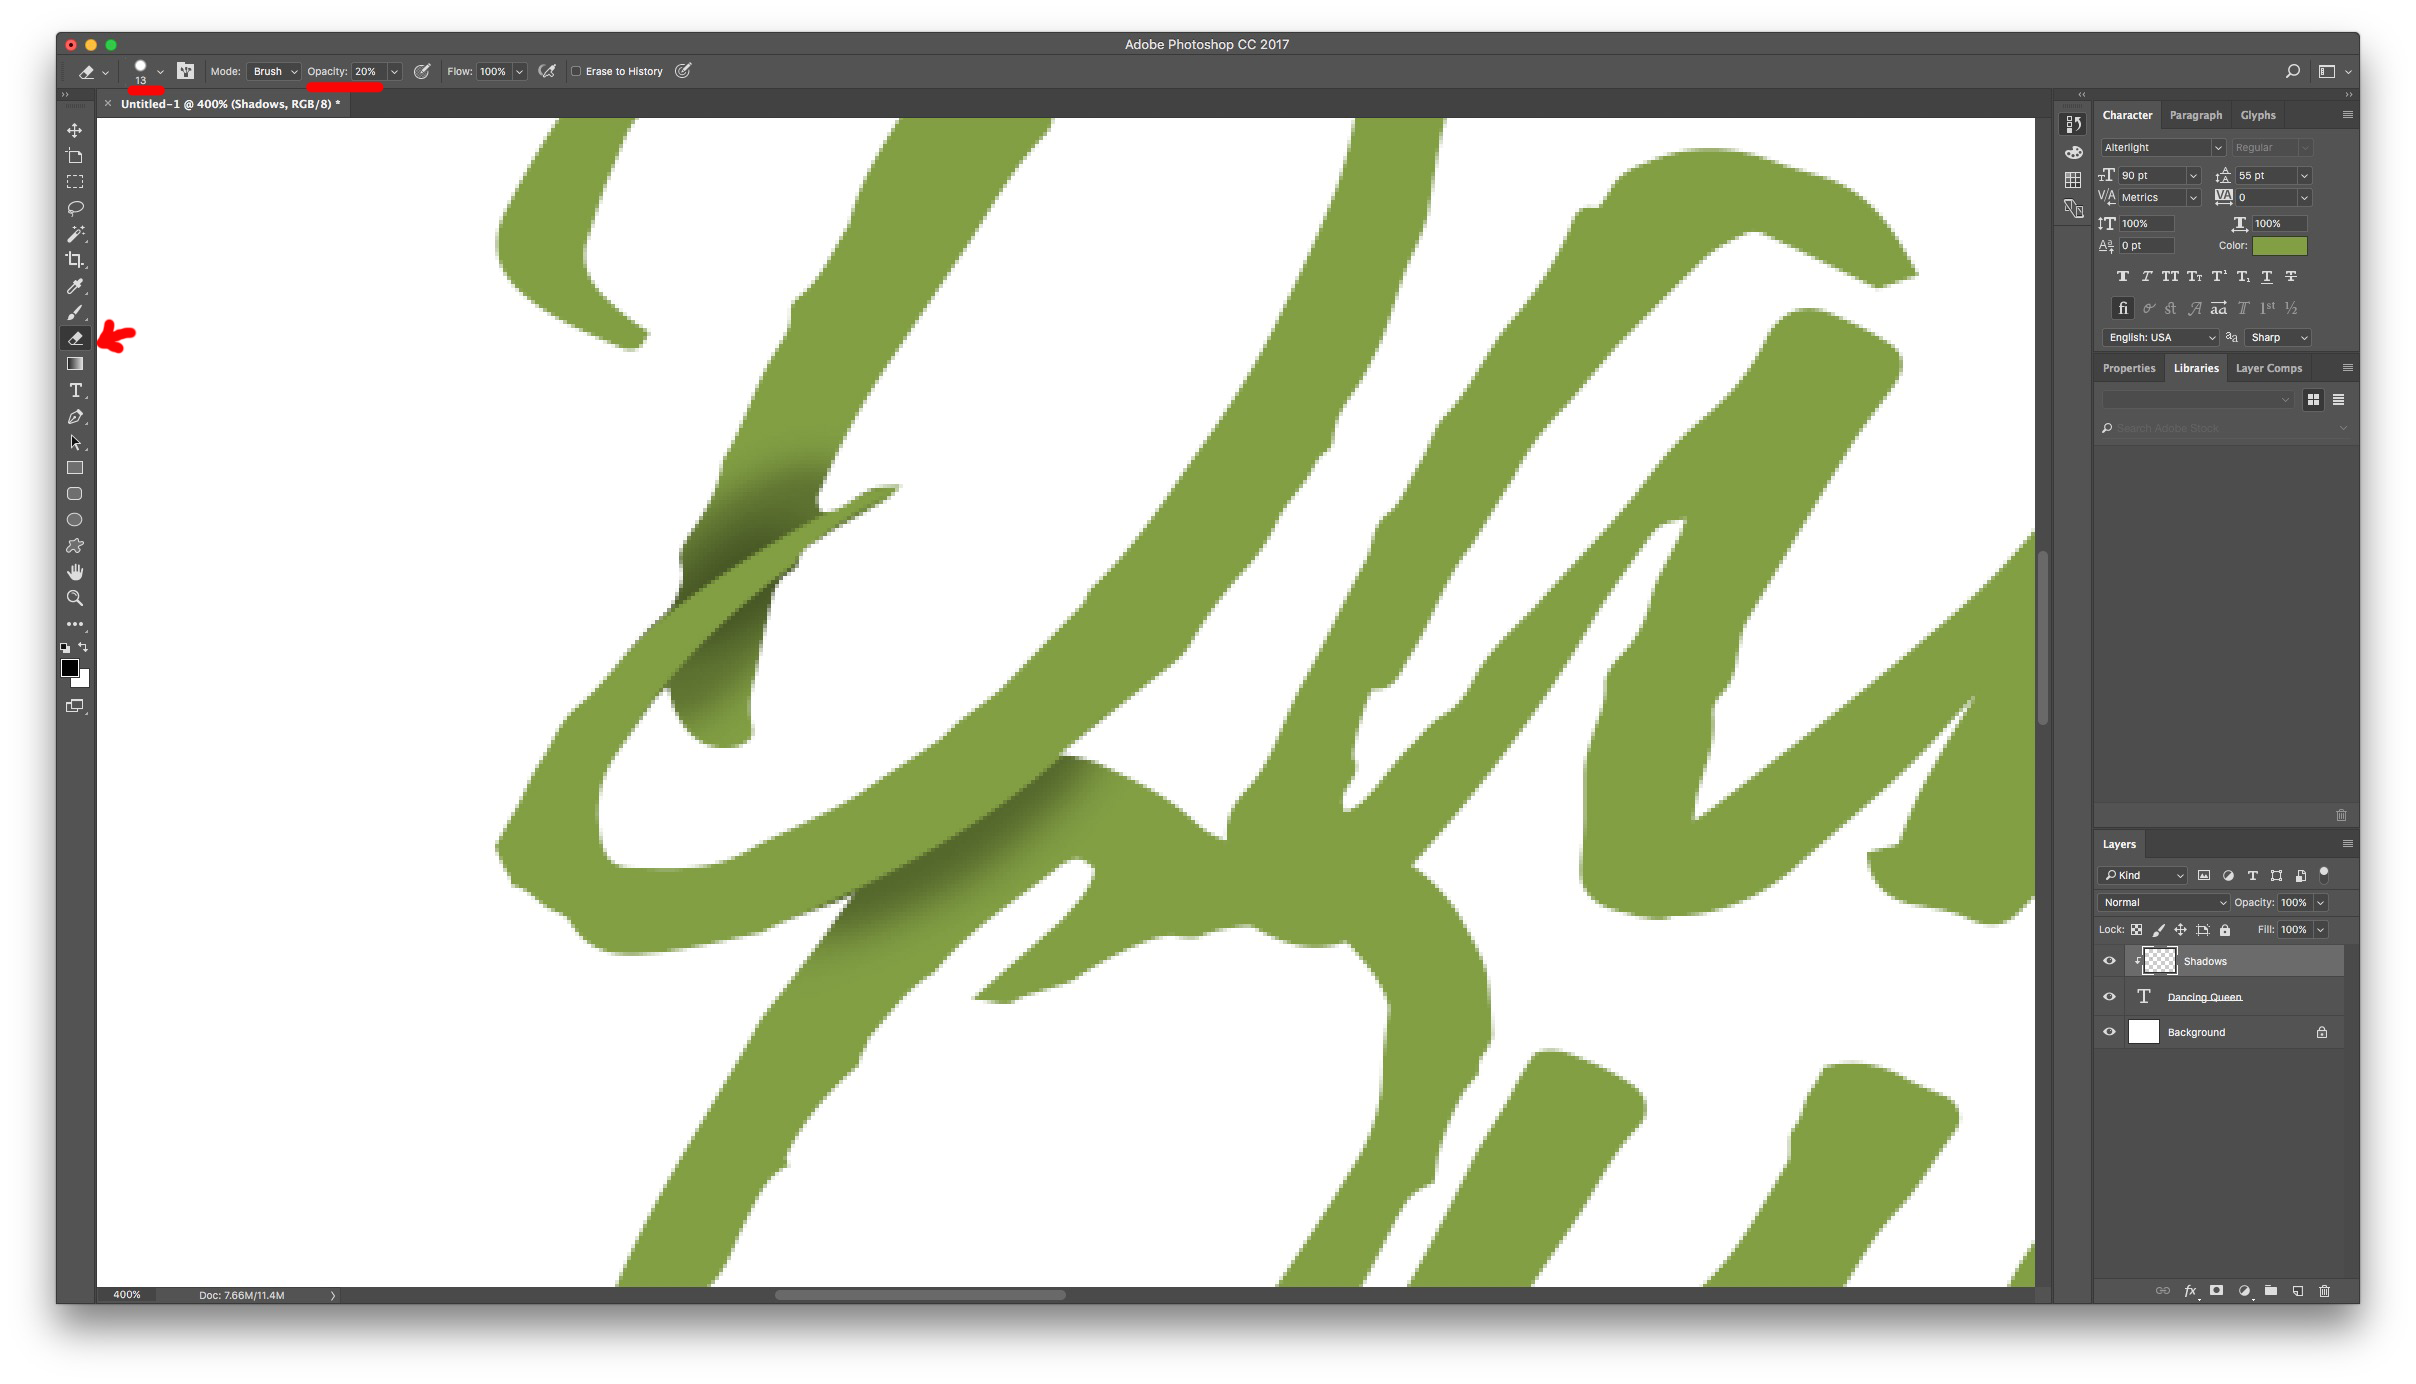
15 - As a finishing touch, let’s make a drop shadow. Select your Text Layer (Not Shadows) and click the Layer Style button in the bottom of the menu.
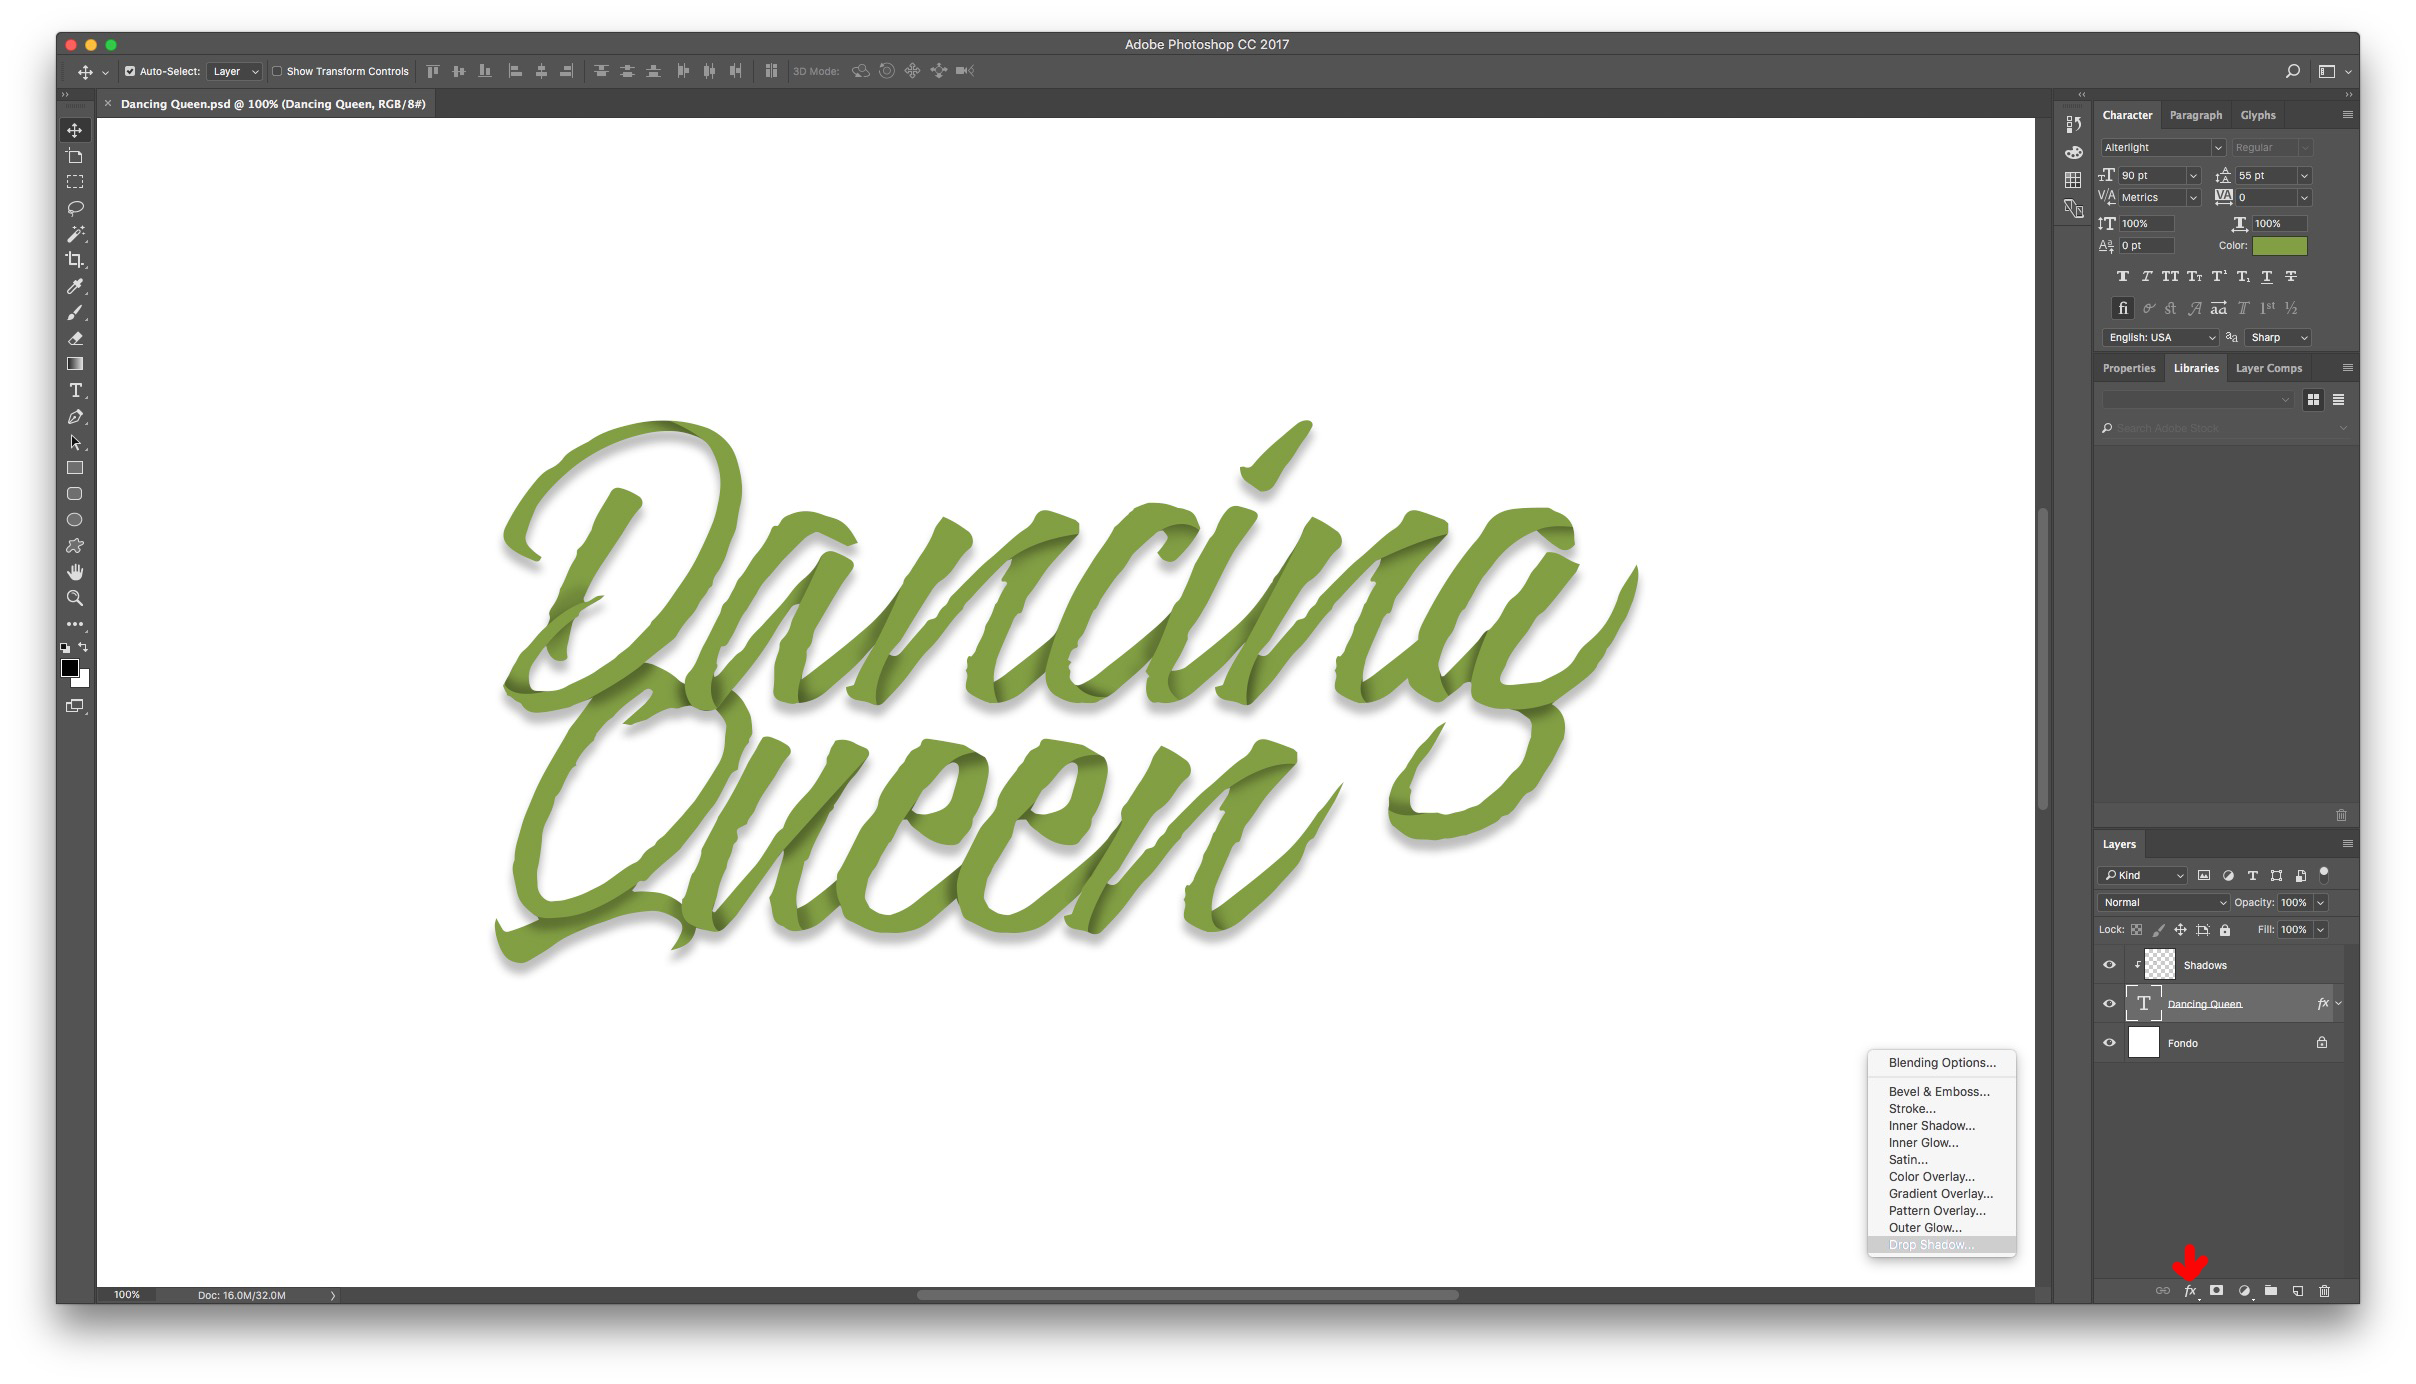
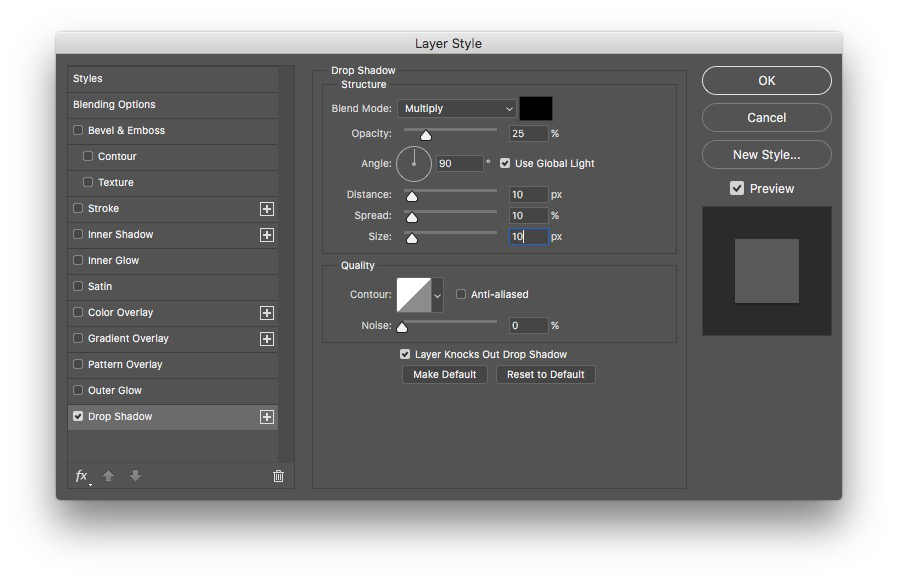
16 - Select “Drop Shadow” and apply the following settings: 25% Opacity, 90 degree angle, a value of 10 in the three boxes (Distance, Extension and Size) and a Radius of 0%.
17 - Don’t forget to save your work.

2 - Create a new document.
3 - Select the Type Tool, select your desired font and add some text. The font used is Alterlight from Font Bundles.
4 - Align left and adjust spacing so the two lines of text overlap a little. (In this case it was 55 pt).
5 - Select your text and change the color to the one you want.
6 - Create a new layer by clicking the small icon at the bottom of the Layers Panel and name it “Shadows”.
7 - Before starting decide where your overlapping and shadows are going to be placed.
8 - Make sure your “Shadows” layer is selected and then use the Pen Tool (Selecting the Path drawing option) to draw a path that outlines the areas that overlap. Leave a good space around so your shadow won’t be cut. The area you want to select is the one that is going to be “under” the overlapping.
9 - Right Click your path and select “Make Selection” from the Pop Up menu. Leave the Feather value at 0.
10 - Right Click on top of your Shadows layer and select “Create Clipping Mask”. This will keep the Shadows layer clipped to Text layer.
11 - Use the Brush tool and choose black for foreground color and make your brush Size 30 px, 0% Hardness and 10% Opacity. Paint inside your selection to create a shadow effect.
12 - Repeat the process in other overlapping areas.
13 - Check the finished Text.
14 - Now we can make some adjustments if you consider this step to be necessary. Choose the Eraser Tool with similar settings as the ones for the Paint Brush (Maybe 20% Opacity instead of 10%) and clean some of the color.
15 - As a finishing touch, let’s make a drop shadow. Select your Text Layer (Not Shadows) and click the Layer Style button in the bottom of the menu.
16 - Select “Drop Shadow” and apply the following settings: 25% Opacity, 90 degree angle, a value of 10 in the three boxes (Distance, Extension and Size) and a Radius of 0%.
17 - Don’t forget to save your work.
by @lornacane
Related Tutorials
Photoshop Tutorials
Long Shadow Effect on Text in Photoshop
Photoshop Tutorials
How to Make a Peeling Sticker Effect in Photoshop
Make a peeling sticker effect in Photoshop with this tutorial.
Photoshop Tutorials
How to Make a Graffiti Text Effect in Photoshop
Learn how to create a realistic grafitti text effect in Photoshop.
Photoshop Tutorials
How to Make a Halftone Effect in Photoshop
Learn how to make a halftone effect in Photoshop and how to change the colors of the halftone effect
Photoshop Tutorials
How to Create a Holographic Text Effect in Photoshop
Discover how to create a holographic text effect in Photoshop with this step by step tutorial.
Photoshop Tutorials
How to Create a Faded Blur Effect in Photoshop
Create a faded blur effect in Photoshop using these technique and add mystery to your images.